Are You Ready to Revolutionize Your Morning Routine?
Mornings can be chaotic—hitting snooze, rushing to get ready, and often skipping the most important meal of the day. What if you could wake up to a ready-to-eat, delicious, and nourishing breakfast that requires zero cooking in the morning? That’s where the magic of Overnight Oats comes in. Preparing this dish at home isn’t just about saving time; it’s about taking control of your ingredients, avoiding hidden sugars found in store-bought versions, and customizing every bite to your taste. And the best part? You can explore countless varieties of overnight oats recipes to ensure you never get bored. Whether you’re a busy professional, a student, or a parent, this simple technique transforms your breakfast game.
Ingredients & Kitchen Tools
To create the perfect base for your no-cook oatmeal, gather the following:
– Rolled oats (use old-fashioned oats for best texture; quick oats can become mushy, while steel-cut oats require more liquid and time)
– Milk (dairy, almond, oat, or soy all work; each adds a different creaminess and flavor)
– Yogurt (Greek yogurt adds protein and tanginess; use plain or flavored based on preference)
– Chia seeds (adds thickness and a boost of omega-3s; hemp seeds are a good alternative)
– Sweetener (maple syrup, honey, agave, or mashed banana for natural sweetness)
– Vanilla extract (enhances overall flavor profile)
– Pinch of salt (balances sweetness and brightens flavors)
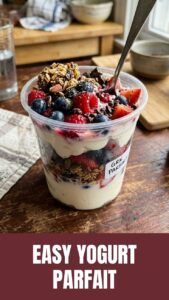
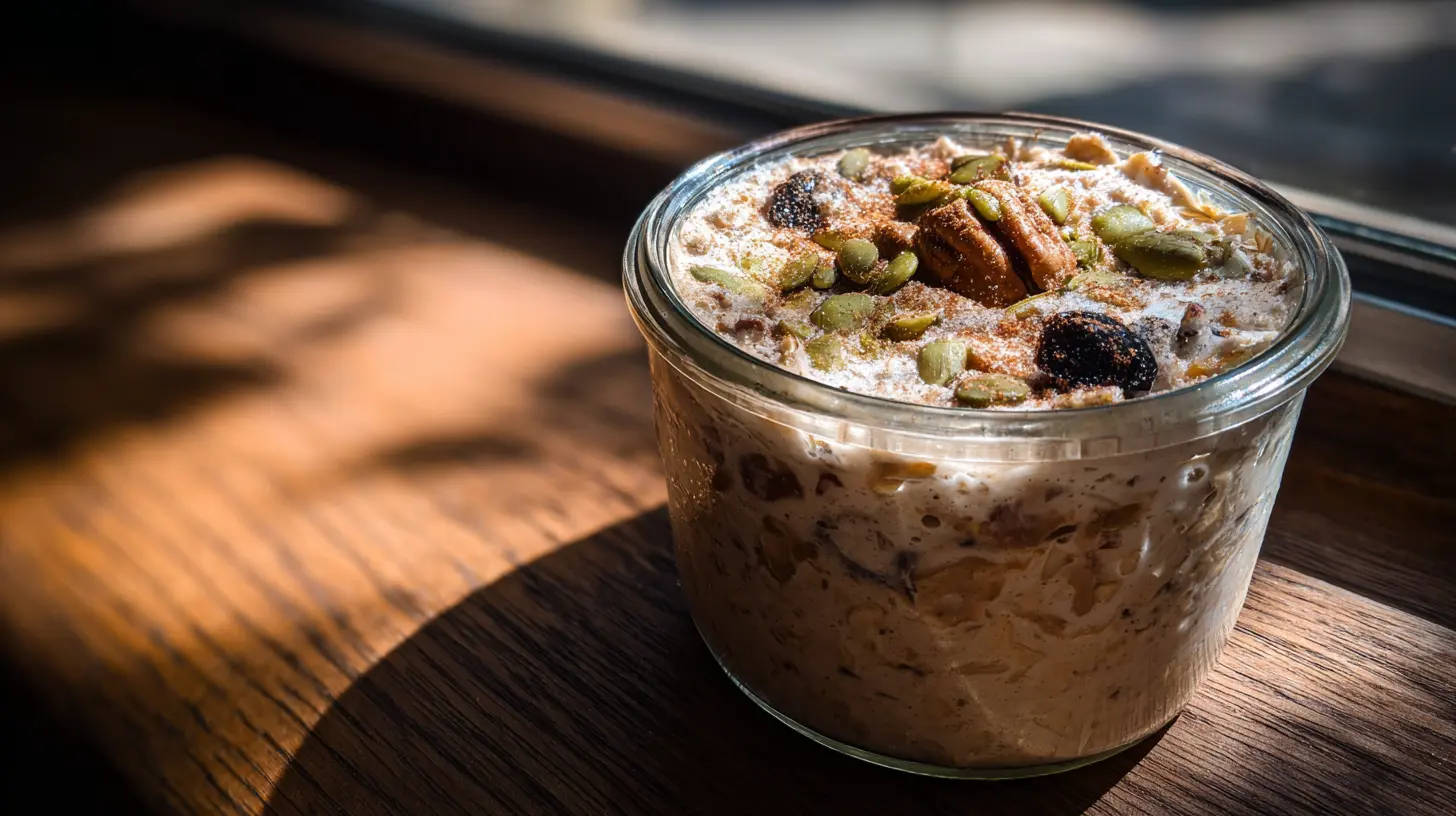
Optional add-ins: fresh berries, sliced banana, nuts, seeds, cocoa powder, or spices like cinnamon and nutmeg.
Kitchen tools needed: a mason jar or bowl with a tight-fitting lid, measuring cups and spoons, a spoon for stirring, and optionally a small whisk for combining wet ingredients.
Prep Time & Cooking Schedule

– Prep time: 5–10 minutes (active hands-on time)
– Resting time: At least 4 hours in the refrigerator, ideally 8–12 hours or overnight
– No cooking required!
Planning tip: Make your jars in the evening after dinner. They’ll be ready by the time you wake up. For busy weeks, prep 3–5 jars on Sunday night for grab-and-go breakfasts.
Step-by-Step Instructions
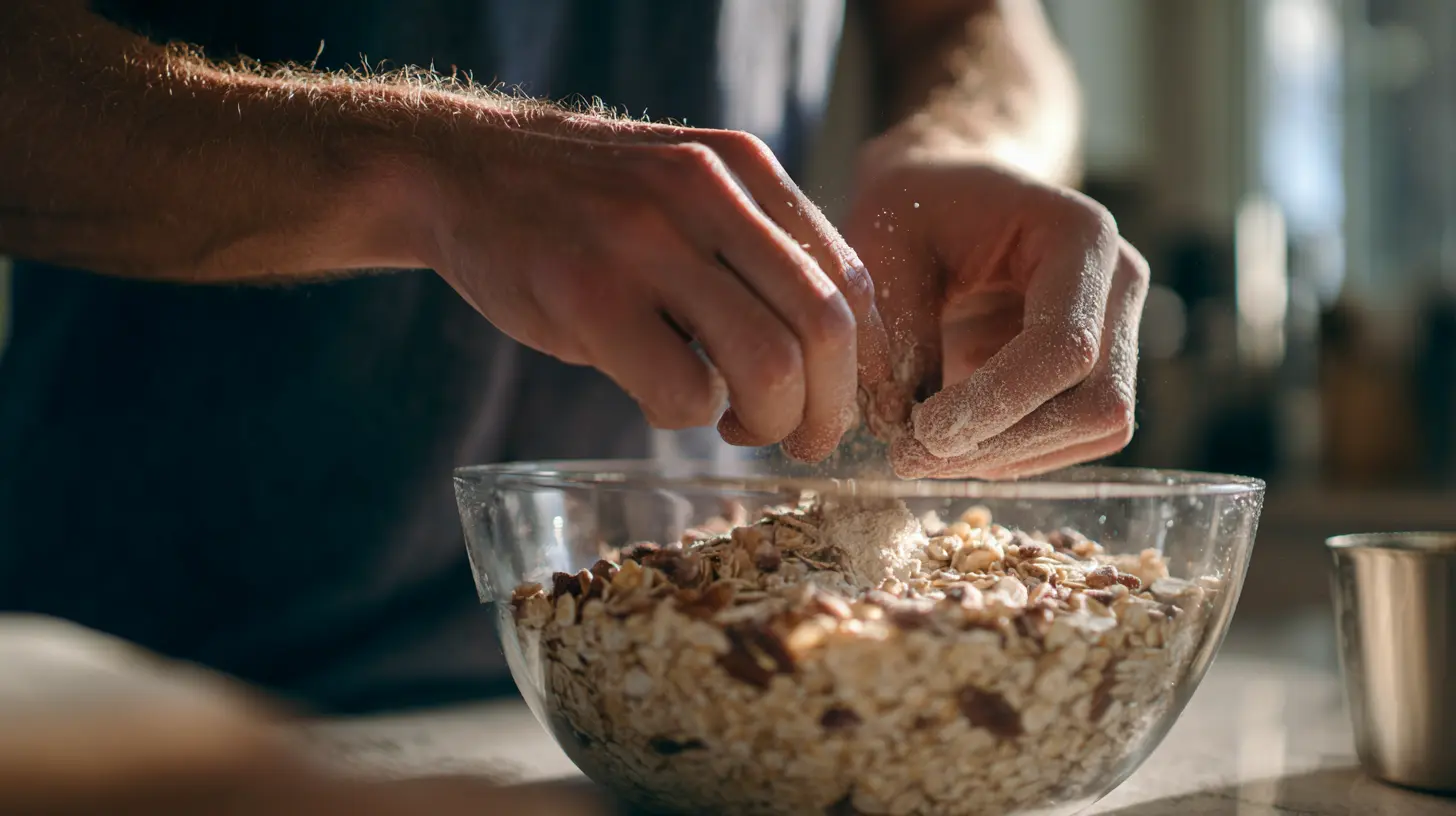
1. Combine the dry base: In your jar, mix ½ cup rolled oats, 1 tablespoon chia seeds, your sweetener (about 1 tablespoon of maple syrup or honey), and a pinch of salt.
2. Add liquid ingredients: Pour in ½ cup milk and ¼ cup Greek yogurt. The ratio is roughly 1:1:0.5 for oats, milk, and yogurt, but adjust to reach your desired creaminess.
3. Stir thoroughly: This step is crucial—scrape the bottom and sides until no dry pockets remain. Clumpy seeds or oats won’t hydrate evenly. If the mixture looks too thin, don’t worry; the chia seeds will absorb liquid overnight.
4. Seal and shake: Close the lid tightly and gently shake the jar to ensure everything is incorporated.
5. Refrigerate: Place the jar in the fridge for at least 4 hours, but overnight is best. One of the secrets to perfect Overnight Oats is letting the chia seeds fully expand, creating a pudding-like consistency.
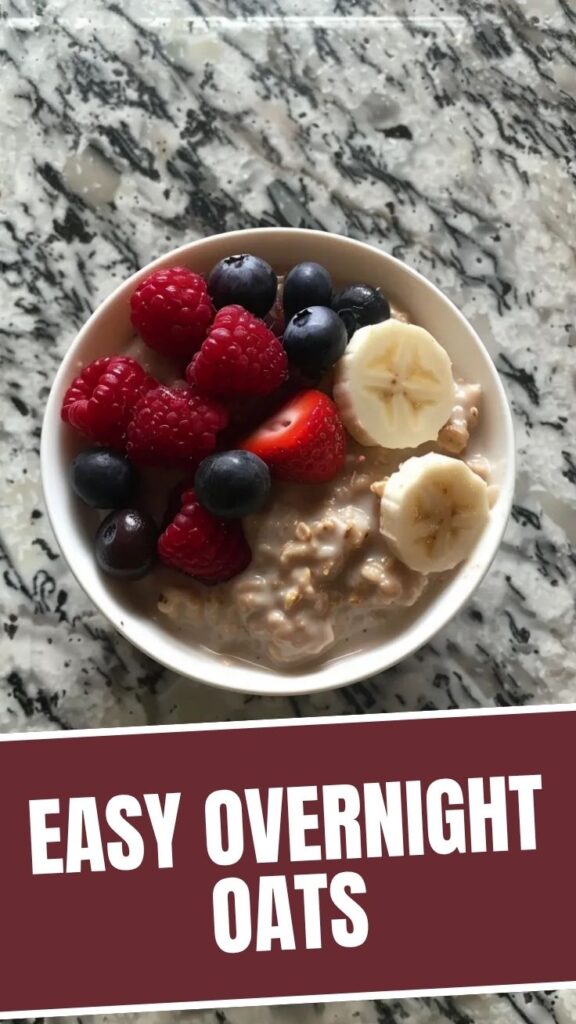
6. Finish and serve: In the morning, stir the oats. If they’re too thick, add a splash of milk. Top with fresh fruit, nuts, or a drizzle of nut butter. Exploring different overnight oats recipes keeps breakfast exciting and prevents monotony.
Pro tip: For temperature control, always use cold ingredients when prepping. This slows down any potential spoilage and ensures safe storage. If you prefer warm oats, you can microwave the jar for 30 seconds before eating.
Nutritional Benefits & Advantages
Starting your day with a bowl of these creamy oats offers a wealth of health benefits:
– Sustained energy: The combination of complex carbs from oats, protein from yogurt, and healthy fats from chia seeds provides stable blood sugar levels and keeps you full until lunch.
– Digestive health: Oats are rich in beta-glucan, a soluble fiber that supports gut health and lowers cholesterol. Chia seeds add even more fiber and prebiotics.
– High protein content: Using Greek yogurt boosts protein (up to 15-20g per serving), which aids muscle repair and satiety.
– Customizable for dietary needs: This base recipe is naturally gluten-free if you use certified gluten-free oats, and it’s easily converted to vegan or dairy-free versions.
– No added preservatives: You control exactly what goes into your breakfast, making it a clean, whole-food choice compared to packaged cereal bars.
Tips Variations & Cooking Advice
– Flavor variations: Add 1 tablespoon of cocoa powder for a chocolate version, or stir in mashed banana and cinnamon for a classic combo. Try pumpkin puree and pumpkin pie spice for a fall-themed treat.
– Ingredient swaps: Replace yogurt with coconut cream for a dairy-free, richer texture. Use mashed avocado for extra creaminess (it’s surprisingly neutral in flavor).
– Portion changes: Double the recipe for a larger jar or make mini jars for kids. For meal prep, divide the base into multiple jars and add different toppings each day.
– Dietary adaptations: For a low-sugar version, skip the sweetener and let ripe banana or berries provide natural sweetness. For nut-free, use oat milk and sunflower seed butter.
– Texture adjustments: If you prefer a thinner consistency, reduce chia seeds to ½ tablespoon and add an extra splash of milk before serving.
Common Mistakes to Avoid
– Using the wrong oats: Quick oats turn mushy; steel-cut oats don’t soften enough. Stick with rolled oats for the best texture.
– Skipping the salt: Even a tiny pinch balances sweetness and rounds out flavors—don’t omit it.
– Not stirring enough: Dry patches of oats or seeds will be gritty. Stir until completely combined, then shake the jar.
– Adding too much liquid: The ratio should be 1:1 oats to milk. Too much liquid results in a soupy mess. Remember, chia seeds absorb about 3x their volume in liquid.
– Skipping the resting time: Eating them after only 1–2 hours will give you crunchy, under-hydrated oats. Patience is key for that perfect creamy texture.
Storage & Meal Prep Tips
– Refrigeration: Store in airtight jars for up to 5 days. Keep toppings (fruit, nuts, granola) separate until ready to serve to maintain crunch and freshness.
– Freezing: Prepare the base without yogurt and freeze for up to 3 months. Thaw overnight in the fridge, then add yogurt and toppings before serving.
– Reheating: If you prefer warm oats, microwave the jar for 30–45 seconds, stirring halfway. Avoid overheating, which can make the texture gluey.
– Texture maintenance: If the oats thicken too much after storing, simply stir in a tablespoon of milk or water to loosen them.
Conclusion
Mastering the art of Overnight Oats is a game-changer for anyone seeking a healthier, more convenient morning meal. By preparing your jars ahead of time, you eliminate morning stress while enjoying a nutritious, customizable breakfast that tastes as good as it looks. Remember, the key to endless variety lies in exploring different overnight oats recipes—from fruity and fresh to indulgent and chocolatey. I encourage you to try this basic formula tonight, share your results on social media, and let your creativity guide you. Your future self (and your taste buds) will thank you.
FAQs
1. Can I use quick oats instead of rolled oats?
Yes, but the texture will be much softer and more porridge-like. Rolled oats give the best chewiness.
2. How long can overnight oats sit out?
If left at room temperature for more than 2 hours, bacteria can grow. Always refrigerate. If you’re taking them to work, use an insulated lunch bag with an ice pack.
3. Can I make them dairy-free?
Absolutely! Use almond, oat, or coconut milk, and replace Greek yogurt with dairy-free yogurt or silken tofu for creaminess.
4. My oats turned out too thick. What did I do wrong?
You may have added too many chia seeds or too little liquid. Fix by stirring in extra milk until desired consistency is reached.
5. Should I add fruit before or after soaking?
Add firmer fruits like berries or chopped apple before soaking so they soften. Softer fruits like banana or mango are best added in the morning to prevent browning and mushiness.

Quick way to grow 5 Overnight Oats
Ingredients
Equipment
Method
- Combine all ingredients—rolled oats, milk, chia seeds, and optional sweetener—in a jar or container.
- Stir well to ensure all ingredients are thoroughly mixed and the chia seeds are evenly distributed.
- Cover the jar and refrigerate for at least 4 hours, or preferably overnight, until the oats and chia seeds have absorbed the liquid and softened.