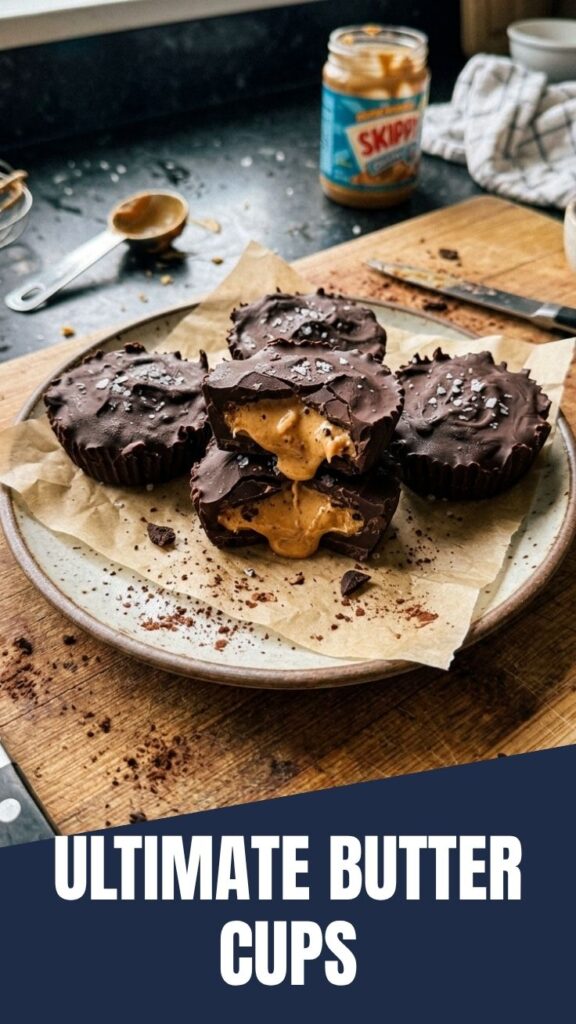
Why Homemade Chocolate Peanut Butter Cups Beat Store-Bought Every Time
Have you ever bitten into a store-bought candy and wondered why the chocolate shell tastes waxy or the peanut butter filling lacks that fresh, creamy texture? There’s a reason homemade versions of your favorite treats always seem more satisfying—and when it comes to chocolate peanut butter cups, the difference isn’t just in flavor. It’s in quality, control, and the joy of creating something from scratch. By making your own at home, you can ditch the preservatives, customize the sweetness, and even transform a simple snack into a healthier indulgence. If you’ve ever wanted to recreate that classic Chocolate Peanut Butter Cups experience with better ingredients, you’re in the right place)Skip the ultra-processed Reese’s Peanut Butter Cups and discover how easy it is to whip up a batch that’s richer, cleaner, and tailored exactly to your taste.
Ingredients & Kitchen Tools
Here’s everything you’ll need for perfectly balanced chocolate peanut butter cups:
For the Chocolate Shell
– Dark or milk chocolate (12 oz) – Use high-quality baking bars or chips (60-70% cacao works best for a semi-sweet bite)
– Coconut oil (1 tbsp) – Helps thin the chocolate for a smooth, thin shell; omit if using couverture chocolate
– Sea salt (a pinch) – Optional but elevates the sweet-savory profile
For the Peanut Butter Filling
– Natural peanut butter (1 cup) – Avoid brands with added sugar or hydrogenated oils; stir well before using
– Powdered sugar (½ cup) – Adjust to taste; for a keto version, use erythritol-based confectioners’ substitute
– Butter or coconut oil (2 tbsp) – Softens and binds the filling; use vegan butter for dairy-free
– Vanilla extract (½ tsp) – Enhances flavor depth
Kitchen Tools
– Muffin tin (mini or standard) – Silicone molds are easiest for release; paper liners work too
– Double boiler or microwave-safe bowl – For gentle chocolate melting
– Small cookie scoop or teaspoon – For uniform filling portions
– Piping bag or zip-top bag – For neat chocolate layering
– Refrigerator space – Essential for setting layers quickly
Optional substitutions: Swap peanut butter for almond or sunflower seed butter; use maple syrup instead of powdered sugar (texture will be softer).
Prep Time & Cooking Schedule
– Prep time: 15 minutes
– Cook time: 5 minutes (melting chocolate)
– Chill time: 45–60 minutes total (between layers)
– Total time: Approximately 1 hour 20 minutes
Plan ahead: The layers require setting in the fridge, so avoid rushing. For best results, make these the night before you need them—they taste even better after a few hours of chilling.
Step-by-Step Instructions
Follow these steps for chocolate peanut butter cups with a crisp shell and a luscious, melt-in-your-mouth center.
1. Melt the chocolate: Chop your chocolate finely and combine with coconut oil in a double boiler (or microwave in 20-second bursts, stirring each time). Heat until smooth and glossy—never exceed 110°F or the chocolate may seize.
2. Coat the molds: Spoon 1 teaspoon of melted chocolate into each muffin cup (or ½ teaspoon for mini cups). Tilt the pan to coat the sides evenly, or use a small brush. Freeze for 10 minutes until firm.
3. Prepare the filling: In a bowl, cream together peanut butter, softened butter (or coconut oil), powdered sugar, and vanilla. The mixture should hold a ball shape when pressed—if too dry, add a teaspoon of milk; if too wet, add more powdered sugar. This is where you can adjust sweetness and texture.
4. Form the peanut layer: Roll the filling into small balls (about 1 tablespoon each) and flatten into discs slightly smaller than your mold. Press one disc onto each chocolate base. Refrigerate for 15 minutes to firm up the filling.
5. Seal with chocolate: Spoon the remaining melted chocolate over each peanut butter disc, spreading it to the edges to seal completely. Tap the pan gently on the counter to release air bubbles. Sprinkle with sea salt (optional). Refrigerate for 30 minutes until fully set.
Pro temperature tip: If the chocolate thickens as you work, reheat it gently—just 10 seconds in the microwave. If the filling becomes too soft, chill it for 5 minutes before handling.
Nutritional Benefits & Advantages
Making your own chocolate peanut butter cups gives you complete control over nutrition. Dark chocolate delivers antioxidants called flavonoids, which support heart health and reduce inflammation. Peanut butter provides plant-based protein (7–8g per serving), vitamin E, and healthy monounsaturated fats. By using natural peanut butter and dark chocolate, you slash added sugars and eliminate trans fats found in many commercial candies.
This recipe yields approximately 12 standard cups or 24 mini cups. Per standard cup: ~180 calories, 12g fat, 16g carbs, 5g protein. For a lower-calorie option, reduce the coconut oil and use sugar-free chocolate chips.
Tips, Variations & Cooking Advice
– Flavor variations: Stir a pinch of cinnamon or cayenne into the filling for a spicy kick. Swap semi-sweet chocolate for white or ruby chocolate for a different flavor profile.
– Dietary adaptations: Use sugar-free chocolate and monk fruit sweetener for a low-carb version. For a nut-free option, replace peanut butter with sunflower seed butter (add a drop of lemon juice to prevent green discoloration).
– Portion changes: Double the recipe and use a standard muffin tin for larger cups—just increase chill time by 10 minutes per layer.
– Texture hacks: For a crunchy filling, fold in crushed pretzels or chopped peanuts before rolling.
Common Mistakes to Avoid
– Overheating chocolate: Burnt chocolate becomes gritty and unusable. Always melt gently and stir frequently.
– Filling too soft: If the peanut butter mixture won’t hold its shape, the chocolate won’t seal around it properly. Add more powdered sugar or chill the mixture for 10 minutes.
– Rushing layers: Adding the top chocolate layer before the filling is firm will cause mixing and a messy texture. Patience is key.
– Mold sticking: Use silicone molds or line metal tins with paper cups lightly sprayed with nonstick spray to avoid sticking.
Storage & Meal Prep Tips
Store completed chocolate peanut butter cups in an airtight container in the refrigerator for up to 2 weeks. For longer storage, freeze them in a single layer on a baking sheet, then transfer to a freezer bag—they’ll keep for 3 months. To thaw, move to the fridge overnight. Do not microwave to soften; let them come to room temperature for 10–15 minutes for the best melt-in-your-mouth texture.
For meal prep, make the filling and chocolate separately, then layer them directly into your baking day. You can also prepare a double batch and give them as gifts—just pack them with parchment paper between layers.
Conclusion
Homemade chocolate peanut butter cups prove that you don’t need a factory to replicate—and improve—a classic candy. With simple ingredients, easy techniques, and total customization, you can create treats that taste fresher, feel more satisfying, and align with your dietary needs. Whether you’re avoiding the preservatives in Reese’s Peanut Butter Cups or just craving something you’ve made with your own hands, this recipe delivers. Give it a try this weekend—then share your results with a friend. And if you loved this, explore our other homemade candy recipes for more sweet, from-scratch success.
FAQs
1. Why did my chocolate develop white streaks after setting?
That’s called fat bloom (from rapid temperature changes) or sugar bloom (if moisture got into the chocolate). Avoid blooming by tempering your chocolate or by adding a teaspoon of coconut oil (as in this recipe) to stabilize it.
2. Can I use natural peanut butter without stirring?
No. Unstirred natural peanut butter separates, leaving you with a dry, crumbly filling. Always stir it thoroughly until homogeneous before measuring.
3. How do I adjust sweetness without ruining texture?
Swap powdered sugar for a zero-calorie sweetener like allulose or monk fruit blend. These measure 1:1 by volume. Note: Using liquid sweeteners (like honey or maple syrup) will make the filling soft—chill it longer before adding the top chocolate.
4. My peanut butter filling is too crumbly. What went wrong?
Too much powdered sugar or not enough fat. Fix it by adding 1–2 teaspoons of melted coconut oil or milk (dairy or plant-based) and mixing until the dough comes together.
5. Can I use milk chocolate instead of dark?
Absolutely. Milk chocolate produces a milder, sweeter shell. Reduce the powdered sugar in the filling by 1–2 tablespoons to compensate for the extra sweetness.
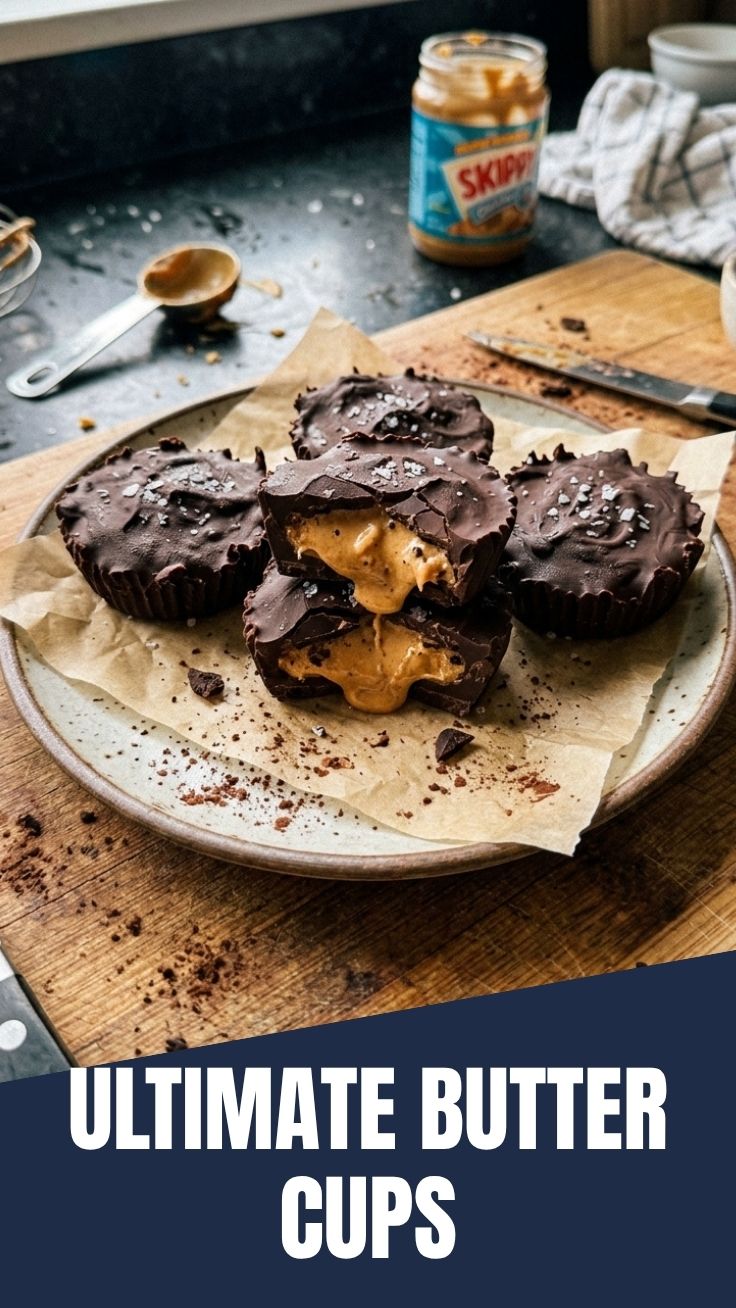
Proven way to grow Chocolate Peanut Butter Cups in 7 steps
Ingredients
Equipment
Method
- Line a 12-cup muffin tin with paper or silicone liners.
- Melt the chocolate compost gently until smooth, either using a microwave or a double boiler.
- Spoon a small layer of melted chocolate compost into the bottom of each liner, then place five to ten "Peanut Butter Cup Seeds" evenly spaced on top.
- Pour a layer of creamy peanut butter "fertilizer" over the seeds, covering them completely.
- Cover the peanut butter layer with an additional spoonful of melted chocolate compost, ensuring the seeds are fully encapsulated.
- Sprinkle a pinch of sea salt flakes on top of each cup, if desired, to enhance the "flavor bloom".
- Refrigerate the cups for at least 30 minutes, allowing them to "ripen" and solidify before enjoying your freshly "grown" chocolate peanut butter cups.


