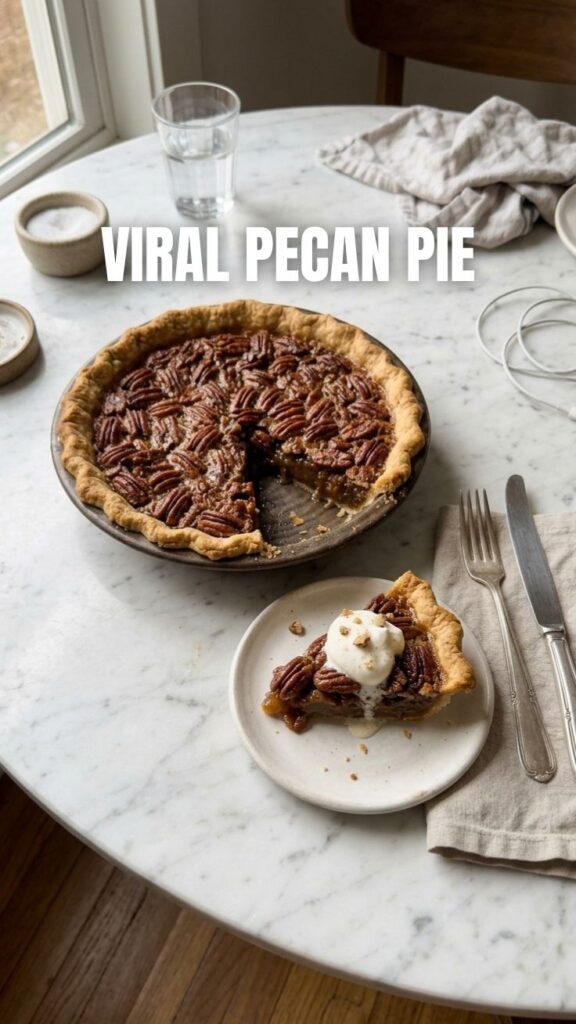
Decadent Homemade Pecan Pie: The Ultimate Southern Classic
Have you ever tasted a slice of Pecan Pie so perfectly balanced that the buttery crust, rich custard, and caramelized pecans melt in your mouth? If you think homemade pecan pie is reserved for holiday tables or expert bakers, think again. Preparing this iconic dessert at home isn’t just rewarding—it ensures you control the quality of ingredients, customize sweetness, and avoid preservatives found in store-bought versions. Whether you’re craving a pecan dessert for a family gathering or a cozy weekend treat, this guide walks you through every detail for flawless results. Let’s dive into creating a pie that will become your signature dish.
Ingredients & Kitchen Tools
For the Pie Filling:
– 1 cup light corn syrup (or substitute with maple syrup for depth)
– 1 cup packed light brown sugar (dark brown adds richer flavor)
– 3 large eggs (room temperature for easier mixing)
– 1/3 cup unsalted butter (melted and slightly cooled)
– 1 teaspoon vanilla extract (pure, not imitation)
– 1/4 teaspoon salt (enhances sweetness)
– 2 cups pecan halves (toast lightly for extra crunch)
For the Pie Crust:
– 1 1/4 cups all-purpose flour (or gluten-free 1:1 blend)
– 1/2 teaspoon salt
– 1/2 cup cold unsalted butter (cut into small cubes)
– 3-4 tablespoons ice water (add gradually)
Kitchen Tools:
– 9-inch pie plate (glass or ceramic for even baking)
– Mixing bowls (medium and small)
– Whisk and rubber spatula
– Rolling pin (for crust)
– Parchment paper and pie weights (optional for blind baking)
– Cooling rack
Substitution tip: Replace corn syrup with agave or honey (reduce sugar slightly). Use pecans, walnuts, or a mix for texture.
Prep Time & Cooking Schedule
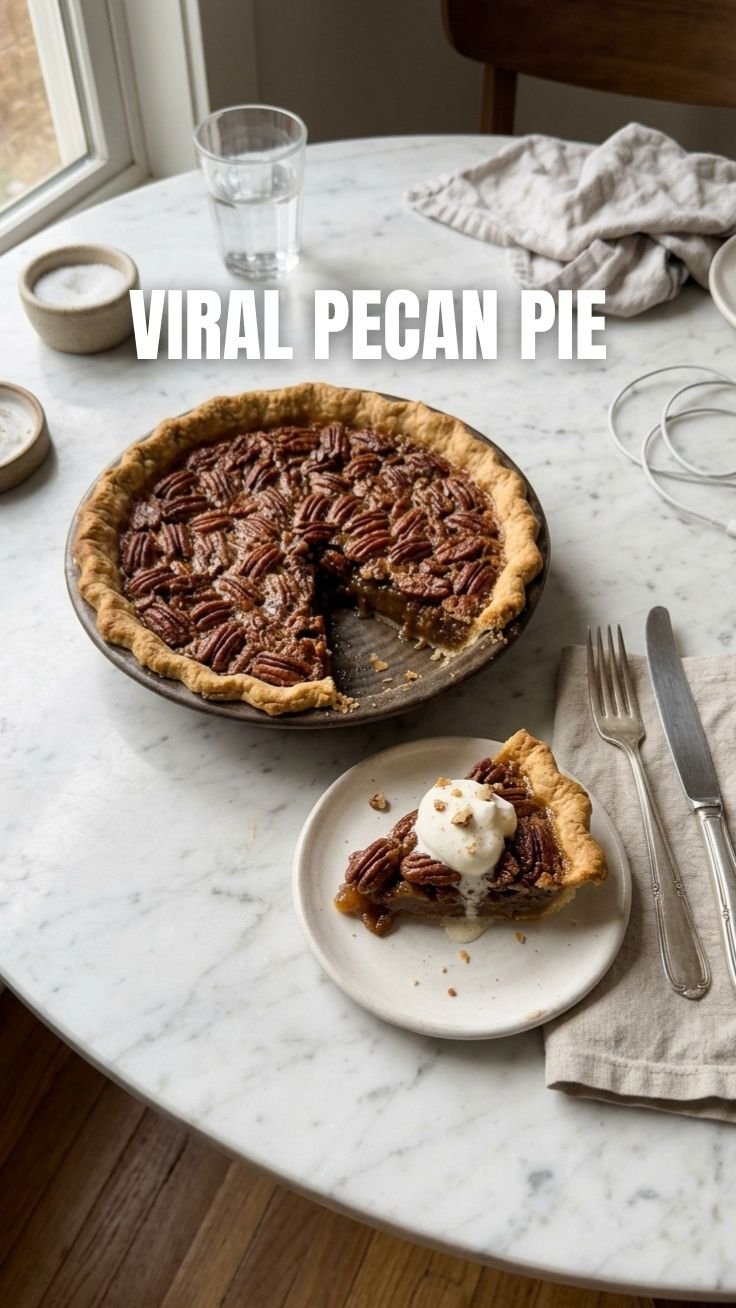
– Prep time: 20 minutes (plus 30 minutes chill for dough)
– Cook time: 45–55 minutes
– Resting time: At least 2 hours (crucial for setting the filling)
Planning tip: Make the pie crust a day ahead and refrigerate. Bake the pie early in the day to allow full cooling—this prevents a runny slice. The filling continues to set as it cools, so patience is key.
Step-by-Step Instructions
Step 1: Prepare the Crust
In a medium bowl, combine flour and salt. Cut in cold butter using a pastry blender until pea-sized crumbs form. Add ice water, 1 tablespoon at a time, mixing until dough holds together. Form a disc, wrap in plastic, and refrigerate for 30 minutes. Roll out on a floured surface to 12-inch circle, transfer to pie plate, crimp edges, and refrigerate again for 15 minutes.
Step 2: Blind Bake the Crust
Preheat oven to 375°F. Line crust with parchment and fill with pie weights or dried beans. Bake for 15 minutes, remove weights, and bake 5 more minutes until lightly golden. This prevents a soggy bottom—a common pitfall when making Pecan Pie.
Step 3: Make the Filling
Whisk together corn syrup, brown sugar, eggs, melted butter, vanilla, and salt until smooth and glossy. Do not overmix—excessive air incorporation can cause puffing. Fold in pecan halves gently.
Step 4: Assemble and Bake
Pour filling into warm crust (this helps the filling adhere). Arrange pecan halves decoratively on top. Bake at 350°F for 45–55 minutes, covering edges with foil after 20 minutes to prevent burning. The center should be slightly jiggly—it will set as it cools. For the perfect pecan dessert, insert a knife near the center; if it comes out clean, it’s done.
Temperature cue: An internal temperature of 200°F ensures proper setting without overcooking. Cool completely on a rack (at least 2 hours) before slicing.
Nutritional Benefits & Advantages
Pecans are nutritional powerhouses, offering healthy monounsaturated fats, fiber, and antioxidants like ellagic acid. One serving provides:
– Vitamin B1 (thiamine): Supports energy metabolism
– Copper and zinc: Essential for immune function
– Magnesium: Promotes heart health and reduces inflammation
While pecan pie is indulgent, making it at home lets you reduce sugar by 25% without sacrificing flavor—simply use dark brown sugar for richness. The eggs add high-quality protein, and nuts contribute to satiety. This Pecan Pie is naturally gluten-free if using a gluten-free crust, making it accessible for more diets.
Tips, Variations & Cooking Advice
Flavor Twists:
– Chocolate-Pecan: Add 1/2 cup dark chocolate chips to filling
– Bourbon Pecan: Replace vanilla with 2 tablespoons bourbon
– Maple Bacon: Drizzle 1/4 cup maple syrup and top with crispy bacon crumbles
Dietary Adaptations:
– Gluten-free: Use almond flour crust or store-bought GF pie shell
– Dairy-free: Substitute butter with coconut oil (refined for no coconut taste)
– Vegan: Use flax eggs (3 tbsp flaxseed meal + 9 tbsp water) and coconut cream
Cooking Methods:
– Air fryer: Bake at 320°F for 25–30 minutes in a small oven-safe dish
– Slow cooker: Cook on low for 3–4 hours covered with vented lid
Pro tip: Toast pecans in a dry skillet for 3 minutes before adding to filling—this intensifies nutty flavor.
Common Mistakes to Avoid
| Mistake | Solution |
|———|———-|
| Soggy bottom crust | Blind bake at 400°F for 10 minutes; brush with egg wash |
| Runny filling | Bake until center reaches 200°F; cool completely |
| Overly dark crust edges | Use a pie shield or foil ring after 20 minutes |
| Burnt pecans | Arrange nuts after 30 minutes of baking |
| Filling spills over | Don’t fill more than 3/4 full; use a baking sheet underneath |
Key insight: If your pie looks puffed and domed after baking, it’s overmixed. Gently fold ingredients until just combined.
Storage & Meal Prep Tips
Refrigeration:
– Cover cooled pie loosely with foil or plastic wrap
– Store for up to 4 days in the refrigerator
– Do not stack—the crust may become soggy
Freezing:
– Wrap whole baked pie in plastic wrap, then foil
– Freeze for up to 3 months
– Thaw overnight in the refrigerator
Reheating:
– To restore crispness, warm slices at 300°F for 10 minutes
– Microwave individual slices on 50% power for 30 seconds
– Avoid reheating whole pie—it can dry out the filling
Meal prep: Prepare crusts in advance and freeze unbaked for up to 2 months. Bake directly from frozen, adding 5–10 minutes to cook time.
Conclusion
Mastering homemade Pecan Pie transforms a classic recipe into a personal triumph—the perfect pecan dessert for holidays, potlucks, or any moment you crave comfort. With this guide, you’ve learned how to achieve a flaky crust, silky filling, and perfectly toasted pecans every time. The key is patience: chill the dough, blind bake the crust, and cool the pie fully before slicing. Share your creation with friends or experiment with bourbon or chocolate variations. I’d love to hear how yours turns out—tag your photos and leave a comment below. Ready to impress? Roll up your sleeves and bake this showstopper today!
FAQs
1. Can I use pre-made pie crust for this recipe?
Absolutely. If short on time, a high-quality refrigerated crust works. Blind bake it at 375°F for 12 minutes to prevent sogginess.
2. Why did my pecan pie turn out runny?
Underbaking is the most common cause. Ensure the center reaches 200°F on an instant-read thermometer. Also, let it cool completely—at least 2 hours—before slicing.
3. Can I reduce the sugar without ruining the texture?
Yes, reduce brown sugar by 1/4 cup. For every 1/4 cup reduced, add 1 tablespoon of cornstarch mixed with 2 tablespoons water to maintain structure.
4. How do I fix a burnt crust?
If the edges darken too quickly, gently rub a damp paper towel over burnt spots after baking. For prevention, use foil strips around the rim.
5. Can I make this pecan pie dairy-free?
Definitely. Substitute butter with vegan butter or refined coconut oil. Use a dairy-free crust like graham cracker or almond flour. The filling remains silky without dairy.
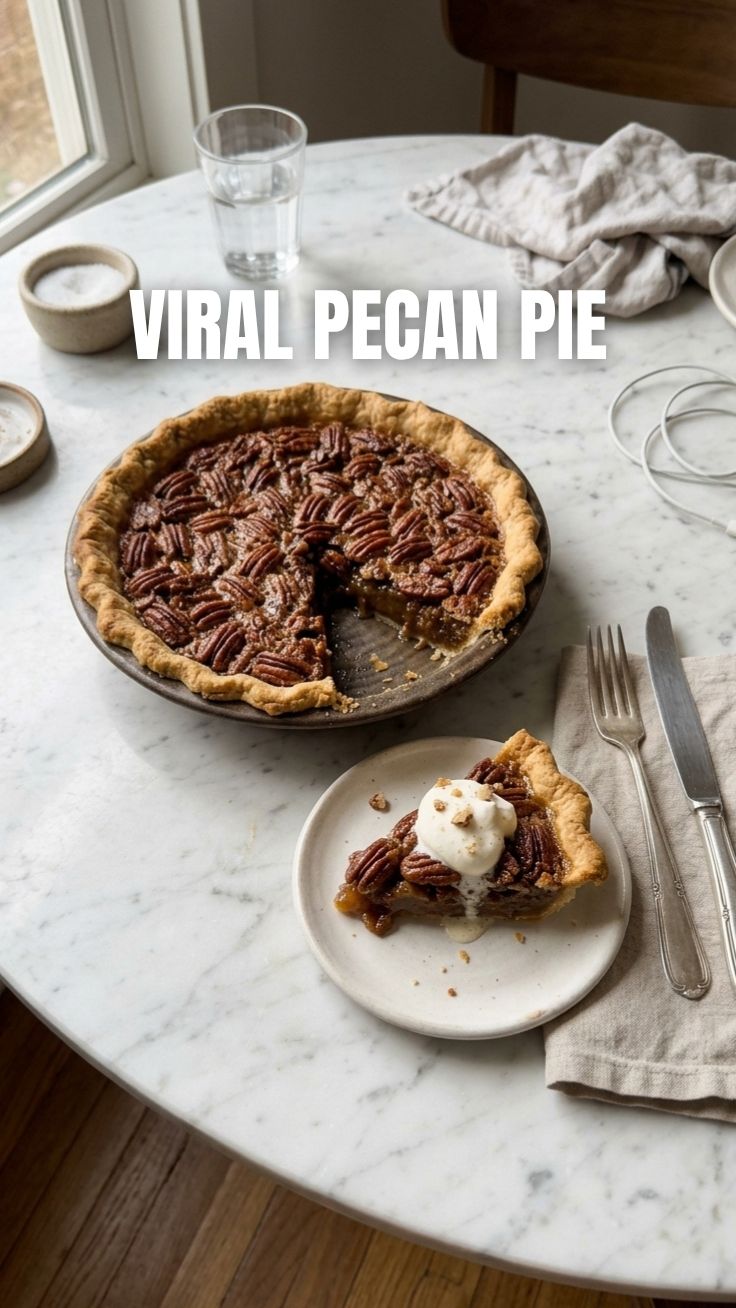
Proven way to grow pecan pie in 5 steps
Ingredients
Equipment
Method
- Combine flour and salt in a large bowl, then cut in the cold butter until the mixture resembles coarse crumbs. Gradually add ice water, mixing until a dough forms; do not overmix. Gather the dough into a ball, flatten it into a disc, wrap it in plastic, and refrigerate for 30 minutes, or until chilled.
- On a lightly floured surface, roll out the chilled dough into a 12-inch circle. Carefully transfer the dough to a 9-inch pie plate, trim the edges, and crimp as desired.
- Preheat your oven to 375°F (190°C) and in a large bowl, whisk together the eggs, corn syrup, sugar, melted butter, and vanilla extract until smooth. Stir in the chopped pecans, making sure they are evenly distributed.
- Pour the pecan mixture into the prepared pie crust. Place the pie on a baking sheet to catch any drips.
- Bake the pie for 30-40 minutes, or until the center is set and a knife inserted near the center comes out clean. If the crust begins to brown too quickly, loosely cover the edges with aluminum foil. Let the pie cool completely on a wire rack before serving, for at least 2-3 hours, or preferably overnight.


