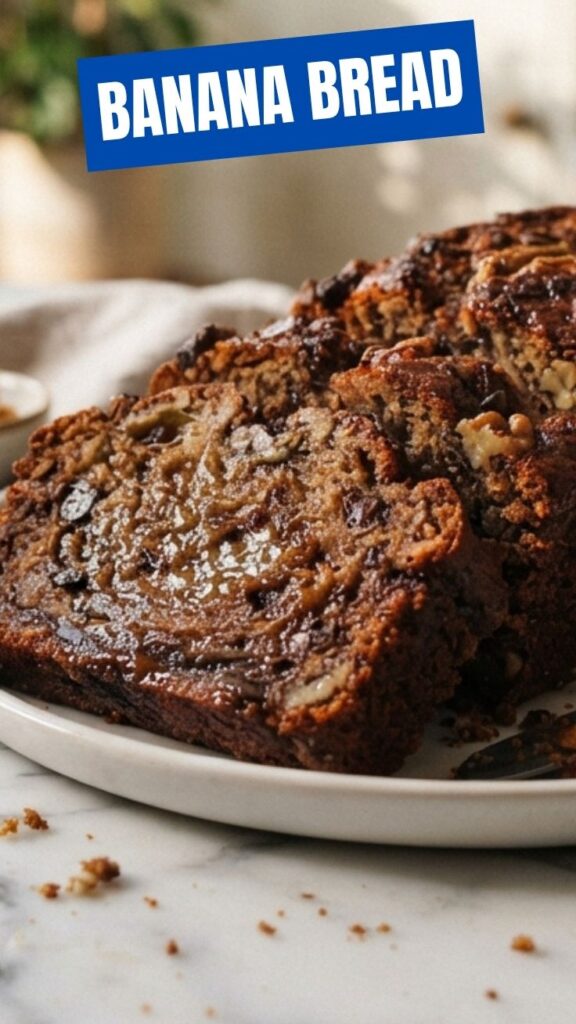
Is Your Banana Bread Always Dry? This Foolproof Recipe Changes Everything
There’s nothing quite like the scent of Banana Bread filling your kitchen on a lazy weekend morning. But too often, homemade loaves turn out tough or flavorless. This guide walks you through why preparing it from scratch at home is not only rewarding but also gives you total control over sweetness, texture, and wholesome ingredients. You’ll master a banana bread recipe that stays moist for days—using common pantry staples and simple techniques. Whether you’re a beginner or a seasoned baker, these data-backed tips will ensure consistent, delicious results every time.
Ingredients & Kitchen Tools
Dry Ingredients
– 1 ¾ cups all-purpose flour (substitute: 1:1 gluten-free flour blend)
– 1 teaspoon baking soda (check freshness—old baking soda ruins rise)
– ½ teaspoon salt (fine sea salt preferred)
– 1 teaspoon ground cinnamon (optional but enhances warmth)
Wet Ingredients
– 3 medium overripe bananas (spotty brown skins mean maximum sweetness)
– ⅓ cup melted unsalted butter (substitute: coconut oil or vegan butter)
– ¾ cup granulated sugar (reduce to ½ cup if bananas are very ripe)
– 1 large egg (room temperature; sub: flax egg for vegan version)
– 1 teaspoon vanilla extract
Mix-ins (optional)
– ½ cup chopped walnuts or chocolate chips
Kitchen Tools
– 9×5-inch loaf pan (metal or glass)
– Large mixing bowl and medium bowl
– Whisk, spatula, and fork (for mashing)
– Cooling rack
– Measuring cups and spoons
Prep Time & Cooking Schedule
– Prep time: 15 minutes (includes mashing bananas and measuring)
– Cook time: 55–65 minutes at 350°F (175°C)
– Resting time: 10 minutes in the pan before transferring to a rack
– Total time: about 1 hour 20 minutes
Plan ahead: Use bananas that are fully ripe—yellow with heavy brown spots. If yours aren’t ready, place them (unpeeled) on a baking sheet at 300°F for 15 minutes, then cool before mashing.
Step-by-Step Instructions
1. Preheat and prep. Set oven rack to middle position. Grease your loaf pan with butter or line with parchment paper, leaving overhang on two sides for easy removal.
2. Mash bananas. In a large bowl, mash 3 ripe bananas with a fork until smooth (a few small lumps are fine). Measure out 1½ cups if using larger bananas.
3. Mix wet ingredients. Stir melted butter, sugar, egg, and vanilla into the mashed bananas until well combined. Avoid overmixing at this stage.
4. Combine dry ingredients. In a separate bowl, whisk flour, baking soda, salt, and cinnamon. Important: Do not skip sifting or whisking—baking soda must be evenly distributed.
5. Fold together. Pour dry mixture into wet mixture. Use a spatula to fold gently until just moistened. A few streaks of flour are okay; overmixing develops gluten and creates a dense, rubbery loaf. At this point, fold in any mix-ins.
6. Bake. Pour batter into prepared pan and spread evenly. Bake at 350°F for 55–65 minutes, or until a toothpick inserted in the center comes out clean or with a few moist crumbs. If the top browns too quickly (after 40 minutes), tent loosely with foil.
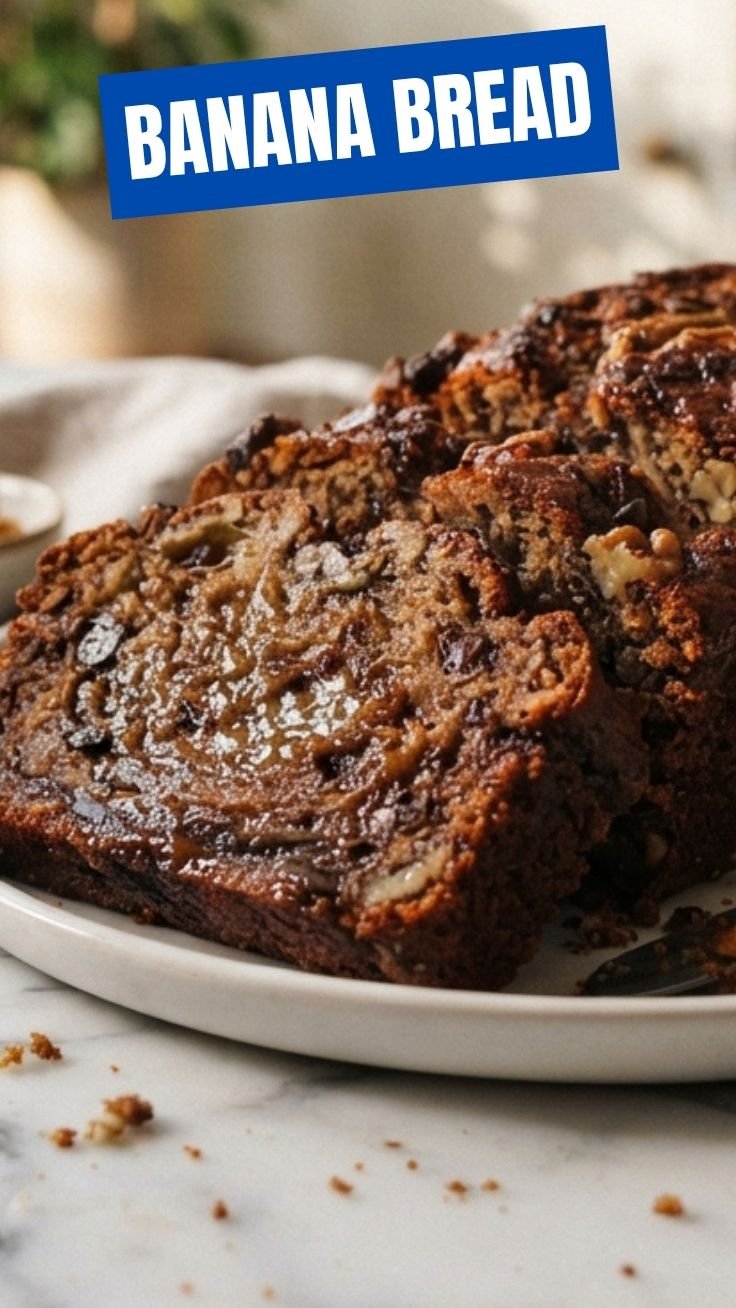
7. Cool correctly. Let the pan rest on a wire rack for 10 minutes. Then turn out the loaf and cool completely before slicing—this prevents a gummy texture. This step is critical for a perfect Banana Bread. Following a trusted banana bread recipe ensures you don’t rush the process.
Nutritional Benefits & Advantages
Banana bread offers more than comfort food status. Each serving (1/10th loaf) provides approximately 200–250 calories, 4g protein, 3g fiber, and a significant dose of potassium (about 350mg per banana). Using whole wheat pastry flour boosts fiber to 5g per slice. The natural sugars in overripe bananas allow you to reduce added sugar by 25% without sacrificing sweetness. For a lower-fat version, swap half the butter with unsweetened applesauce—this cuts saturated fat while maintaining moisture.
Tips Variations & Cooking Advice
– Flavor twists: Add ½ teaspoon nutmeg or cardamom with the cinnamon. Stir in ¼ cup mini chocolate chips for a dessert-style loaf.
– Dietary adaptations: For gluten-free, use a 1:1 gluten-free flour blend plus 1 teaspoon xanthan gum (if not already included). For vegan, replace the egg with a flax egg (1 tablespoon ground flax + 3 tablespoons water, rested 5 minutes).
– Alternative methods: Bake as muffins at 350°F for 18–22 minutes. For mini loaves, reduce time to 30–35 minutes. Always check doneness with a toothpick.
– Texture boost: Add 2 tablespoons plain Greek yogurt or sour cream to the wet mix for extra tenderness—a trick that professional bakers use.
Common Mistakes to Avoid
– Using underripe bananas: Green or barely yellow bananas lack sweetness and moisture. Wait until the peel shows dark spots. If impatient, roast bananas as mentioned above.
– Overmixing the batter: Stirring too vigorously after adding flour activates gluten, resulting in a tough, tunneled crumb. Mix until flour is just absorbed.
– Opening the oven door too early: Temperature fluctuations can cause the center to sink. Wait until at least 40 minutes have passed before peeking.
– Skipping the rest time: Slicing while hot will yield a gummy, collapsed loaf. Patience pays off.
– Not adjusting for altitude: At high elevations (over 3,500 feet), reduce sugar by 1 tablespoon and increase flour by 2 tablespoons to prevent overflow.
Storage & Meal Prep Tips
– Room temperature: Wrap completely cooled loaf in plastic wrap or place in an airtight container. It stays fresh for up to 3 days at room temperature.
– Refrigeration: Store in the fridge for up to 1 week. Note that refrigeration can dry out the crumb; wrap tightly and consider adding a slice of apple inside the container to retain moisture.
– Freezing: Wrap the whole loaf (or individual slices) in plastic wrap, then foil or a freezer bag. Freeze for up to 3 months. Thaw overnight in the fridge or reheat slices directly in the toaster.
– Reheating: For a warm, just-baked experience, microwave a slice for 15–20 seconds or toast in a 350°F oven for 7 minutes. This revives the soft interior and crisp edges.
Conclusion
There you have it—a reliable, endlessly adaptable Banana Bread that turns overripe fruit into something spectacular. Whether you stick to the classic version or experiment with gluten-free swaps and mix-ins, this banana bread recipe delivers consistent results every time. The key takeaways: use spotty bananas, mix gently, and never skip the cooling step. We’d love to hear how your loaf turns out—share a photo in the comments or tag us on social media. Happy baking!
FAQs
1. Can I use frozen bananas for banana bread?
Absolutely. Thaw them at room temperature, then drain any excess liquid before mashing. The bananas will be darker and softer, but that’s fine—they’re actually sweeter.
2. How do I make banana bread without eggs?
Use a flax egg (1 tablespoon ground flaxseed + 3 tablespoons water, rested 5 minutes) or ¼ cup unsweetened applesauce. Both work beautifully; applesauce also adds moisture.
3. Why is my banana bread dry?
Common causes: overmixing the batter, overbaking, or using too much flour. Spoon and level your flour rather than scooping directly from the bag. Check doneness 5 minutes early.
4. Can I reduce the sugar without ruining the texture?
Yes. Reduce sugar by up to one-third. Bananas that are very ripe (heavy brown spots) contribute enough sweetness. You can also add a tablespoon of maple syrup to compensate.
5. How do I prevent the top from burning?
If the top browns before the center is set, loosely tent the loaf with aluminum foil after 40 minutes of baking. This shields the crust while the inside finishes cooking.
Proven way to grow Banana Bread: 3 Tips
Ingredients
Equipment
Method
- Fill the small pot with potting soil, leaving about an inch from the top.
- Plant the banana bread seeds about 1/2 inch deep in the soil, spacing them evenly.
- Gently water the soil until it is moist, but not waterlogged.
- Place the pot in a location where it will receive 6-8 hours of direct sunlight daily.
- Water regularly, keeping the soil consistently moist but not soggy.
- Apply a balanced liquid fertilizer once a month during the growing season.
- Once the plant outgrows its small pot, transplant it into a larger pot, ensuring minimal root disturbance.
- When the banana bread fruit is ripe and fragrant, carefully cut it from the plant using a sharp knife.
- Enjoy your homegrown banana bread fresh or use it in your favorite recipes.


