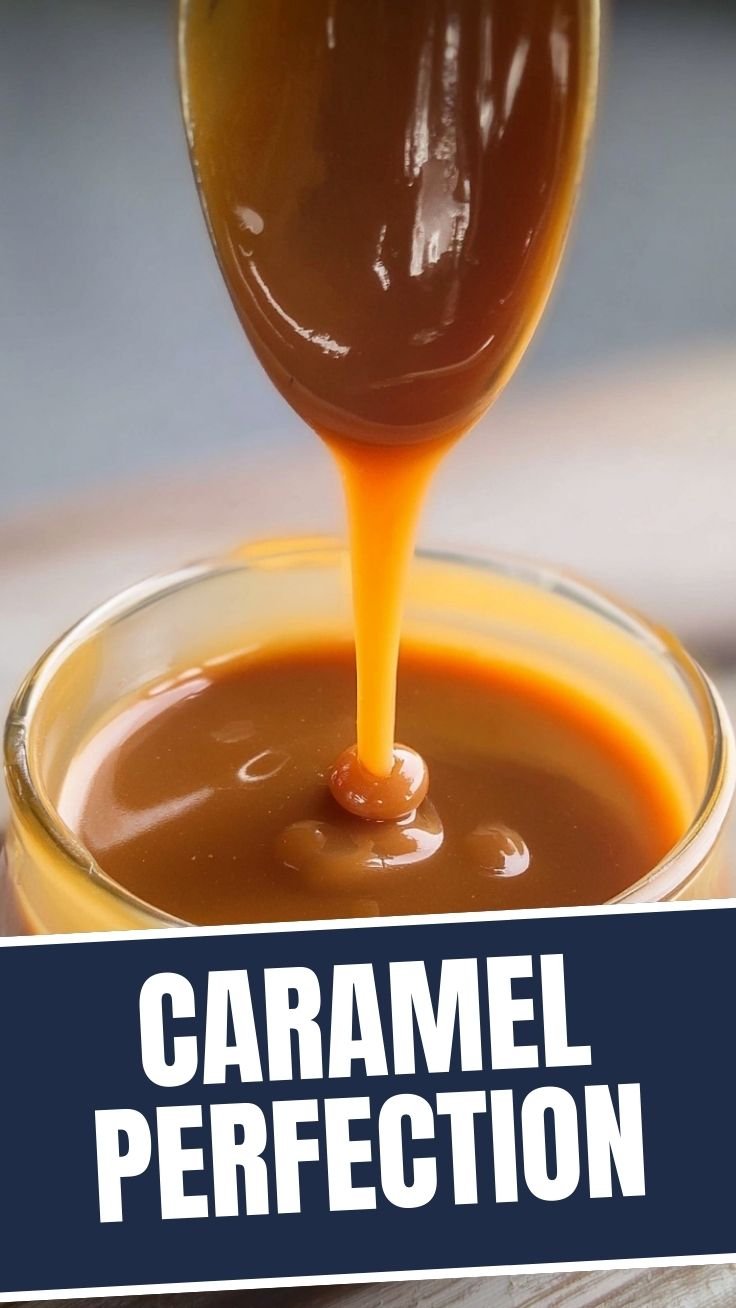
Rich Homemade Caramel Sauce Recipe: A Decadent Delight
Have you ever craved that smooth, buttery, amber-colored sweetness that elevates desserts from ordinary to extraordinary? Making your own caramel sauce at home isn’t just economical—it’s a culinary revelation! With just a few simple ingredients, you can craft a luxurious homemade caramel that outshines anything store-bought. This versatile liquid gold can transform ice cream, coffee, cakes, and countless other treats into memorable indulgences.
Ingredients & Kitchen Tools
For the Caramel:
– 1 cup granulated sugar (regular white sugar works best for clarity)
– 6 tablespoons unsalted butter, room temperature, cut into pieces
– ½ cup heavy cream, warm
– 1 teaspoon pure vanilla extract
– ½ teaspoon sea salt (optional, for salted caramel)
Kitchen Tools:
– Heavy-bottomed saucepan (3-quart minimum)
– Wooden spoon or heat-resistant silicone spatula
– Whisk
– Glass jar with tight-fitting lid (for storage)
– Candy thermometer (optional but helpful for precision)
– Heat-resistant measuring cups
Prep Time & Cooking Schedule
– Prep time: 5 minutes
– Cook time: 10-15 minutes
– Total time: 20 minutes
– Cooling time: 30 minutes minimum
This recipe yields approximately 1½ cups of sauce. Plan to make this when you have time to watch the caramel carefully—the transformation from sugar to caramel happens quickly and requires your full attention to prevent burning.
Step-by-Step Instructions

1. Prepare your workspace: Have all ingredients measured and ready. Warm the heavy cream slightly (microwave for 20-30 seconds) to prevent splattering when added to hot sugar.
2. Melt the sugar: Pour sugar into a clean, dry heavy-bottomed saucepan over medium heat. As the sugar begins to melt, watch carefully and stir occasionally with a wooden spoon to ensure even melting.
3. Achieve the perfect color: Once all sugar has melted, stop stirring and swirl the pan gently. Allow the caramel sauce to cook until it reaches a deep amber color—this is where the rich, complex flavor develops. If using a thermometer, aim for 350°F (175°C).
4. Add butter: Carefully add butter pieces, whisking vigorously until completely melted and incorporated. The mixture will bubble aggressively—this is normal!
5. Incorporate cream: Remove from heat and slowly pour in warm cream while whisking constantly. The mixture will bubble up again during this homemade caramel making process, so be careful.
6. Finish with flavorings: Whisk in vanilla extract and salt if using. For a completely smooth texture, continue whisking for another minute.
7. Cool and thicken: Allow the caramel to cool in the pan for about 10 minutes before transferring to a glass jar. It will thicken substantially as it cools.
Nutritional Benefits & Advantages
While caramel sauce is certainly an indulgent treat, in moderation it can bring joy to your culinary experiences. The heavy cream provides calcium and fat-soluble vitamins, while pure vanilla extract contains antioxidants. Opting for sea salt adds beneficial trace minerals and enhances the complex flavor profile by balancing sweetness.
Tips, Variations & Cooking Advice
– Bourbon caramel: Add 1-2 tablespoons of bourbon after removing from heat for a sophisticated flavor profile
– Spiced variation: Incorporate ¼ teaspoon cinnamon and a pinch of nutmeg for a warming autumn version
– Vegan alternative: Substitute coconut cream for heavy cream and coconut oil for butter
– Texture adjustment: For thicker caramel, use less cream; for thinner sauce, add more
– Measuring tip: Lightly oil measuring tools before measuring sticky ingredients for easier cleanup
Common Mistakes to Avoid
1. Sugar crystallization: Avoid stirring once the sugar begins to melt completely—use gentle swirling instead
2. Burning the caramel: Don’t walk away during cooking; the transition from perfect to burnt happens in seconds
3. Cold ingredients shock: Using cold butter or cream can cause the hot caramel to seize; ensure they’re at room temperature
4. Inadequate pot size: Using a pot that’s too small can lead to dangerous overflow when adding butter and cream
Storage & Meal Prep Tips
Store your caramel sauce in an airtight container in the refrigerator for up to 2 weeks. It will become quite firm when chilled but can be easily returned to pourable consistency by warming in the microwave for 15-30 seconds or placing the jar in a bowl of warm water. For longer storage, freeze in ice cube trays for up to 3 months for perfect single-serving portions.
Conclusion
Mastering this caramel sauce recipe opens a world of dessert possibilities while giving you complete control over ingredients and flavor profile. The rich, buttery complexity of homemade caramel simply cannot be matched by commercial versions. Whether you’re drizzling it over ice cream, layering it into cakes, or gifting it to friends, this liquid gold will elevate your culinary reputation and bring smiles to those lucky enough to taste it.
FAQs
Can I use brown sugar instead of white sugar?
Yes, though it will give a different flavor profile and darker color. Brown sugar contains molasses, which adds complexity but makes it harder to judge doneness by color.
Why did my caramel crystallize and become grainy?
Sugar crystals likely formed on the sides of the pan. Next time, avoid stirring once melting begins and brush the sides of the pan with water using a pastry brush.
Is a candy thermometer necessary?
No, but it helps beginners achieve consistent results. With practice, you’ll learn to judge by color and aroma.
Can I double this recipe?
Yes, but use an even larger pot as the bubbling increases proportionally and can create dangerous overflow situations.
How can I make this less sweet?
Increase the salt slightly (up to 1 teaspoon) and add a few drops of lemon juice to balance sweetness with acidity.