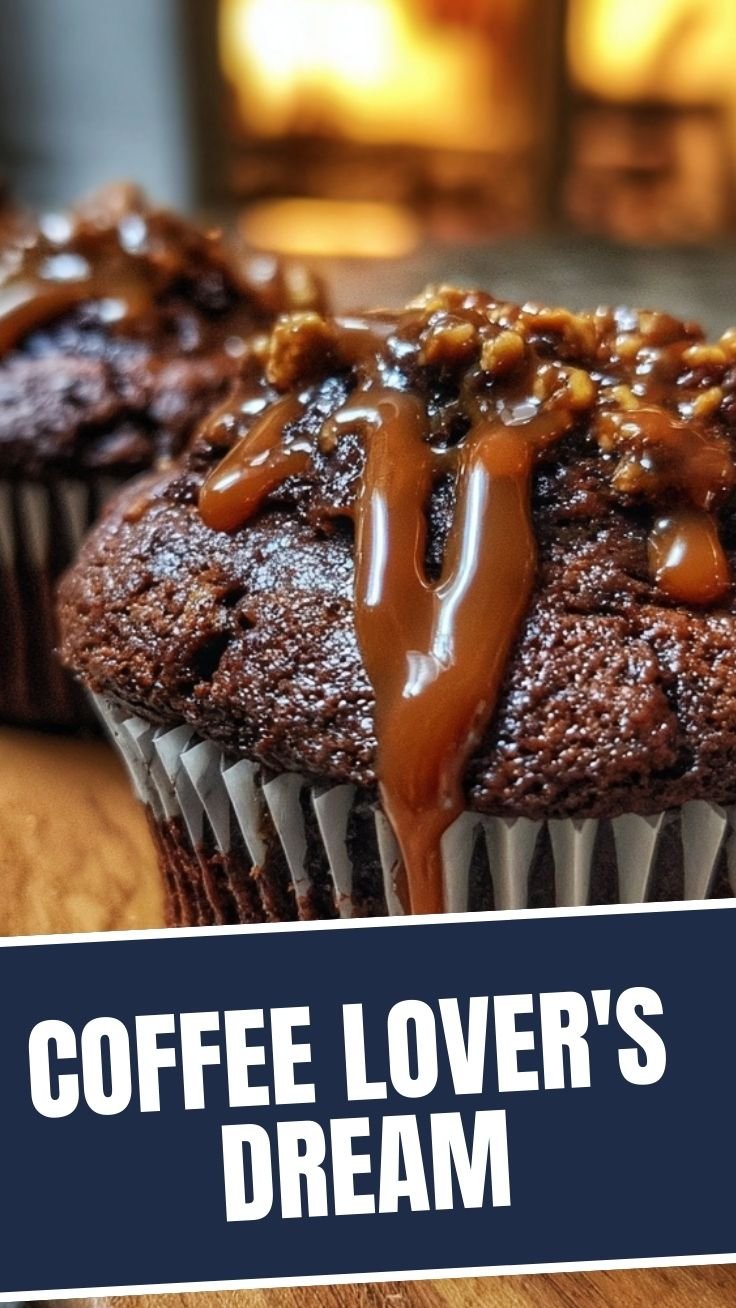
Indulgent Espresso Brownie Cupcakes Recipe: A Perfect Coffee-Chocolate Treat
Are you craving a decadent dessert that combines the richness of brownies with the elegance of cupcakes? Look no further than these divine Espresso Brownie Cupcakes! The intense coffee flavor perfectly complements the chocolate, creating an irresistible treat for any occasion. These Brownie cupcakes offer the perfect balance between fudgy chocolate goodness and light, fluffy cake texture. Let’s dive into this delicious recipe that will impress family and friends alike.
Ingredients & Kitchen Tools
For the Cupcakes:
– 1 cup all-purpose flour (sifted for a smoother texture)
– 1/2 cup unsweetened cocoa powder (Dutch-processed preferred)
– 1 tablespoon instant espresso powder (or 2 tablespoons for stronger coffee flavor)
– 1/2 teaspoon baking powder
– 1/4 teaspoon salt
– 1/2 cup unsalted butter, room temperature
– 1 cup granulated sugar
– 2 large eggs, room temperature
– 1 teaspoon vanilla extract
– 1/2 cup hot water
For the Espresso Glaze:
– 1 cup powdered sugar
– 2 tablespoons strong brewed espresso, cooled
– 1/4 teaspoon vanilla extract
Kitchen Tools:
– Standard 12-cup muffin tin
– Cupcake liners
– Electric mixer (stand or hand)
– Mixing bowls (medium and large)
– Whisk
– Rubber spatula
– Measuring cups and spoons
– Wire cooling rack
– Sifter or fine-mesh strainer
Prep Time & Cooking Schedule
– Prep time: 15 minutes
– Baking time: 18-20 minutes
– Cooling time: 30 minutes
– Glazing time: 10 minutes
– Total time: Approximately 1 hour 15 minutes
Plan to prepare these cupcakes at least 1 hour before serving to allow proper cooling and setting of the glaze. The flavor actually improves after a few hours as the espresso notes develop.
Step-by-Step Instructions
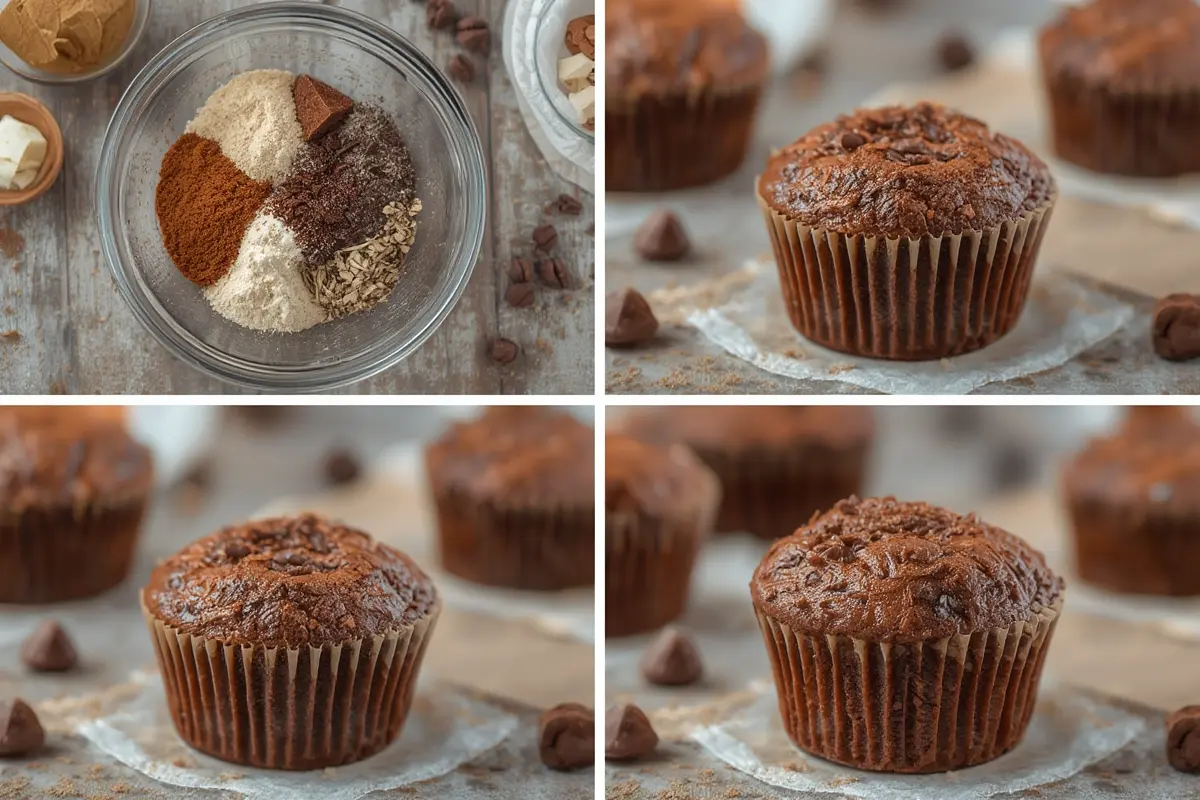
1. Preheat and Prepare: Set your oven to 350°F (175°C). Line a 12-cup muffin tin with cupcake liners.
2. Mix Dry Ingredients: In a medium bowl, whisk together flour, cocoa powder, espresso powder, baking powder, and salt until well combined.
3. Cream Butter and Sugar: In a large bowl, beat the butter and sugar with an electric mixer on medium-high speed for 2-3 minutes until light and fluffy.
4. Add Eggs and Vanilla: Beat in eggs one at a time, then add vanilla extract, mixing until fully incorporated. Scrape down the sides of the bowl as needed.
5. Combine Wet and Dry: Gradually add the dry ingredients to the wet ingredients, alternating with hot water, beginning and ending with the dry mixture. Mix just until combined – do not overmix for the perfect Brownie cupcakes texture.
6. Fill and Bake: Fill each cupcake liner about 2/3 full with batter. Bake for 18-20 minutes or until a toothpick inserted comes out with a few moist crumbs (not wet batter).
7. Cool: Allow the Espresso Brownie Cupcakes to cool in the tin for 5 minutes, then transfer to a wire rack to cool completely.
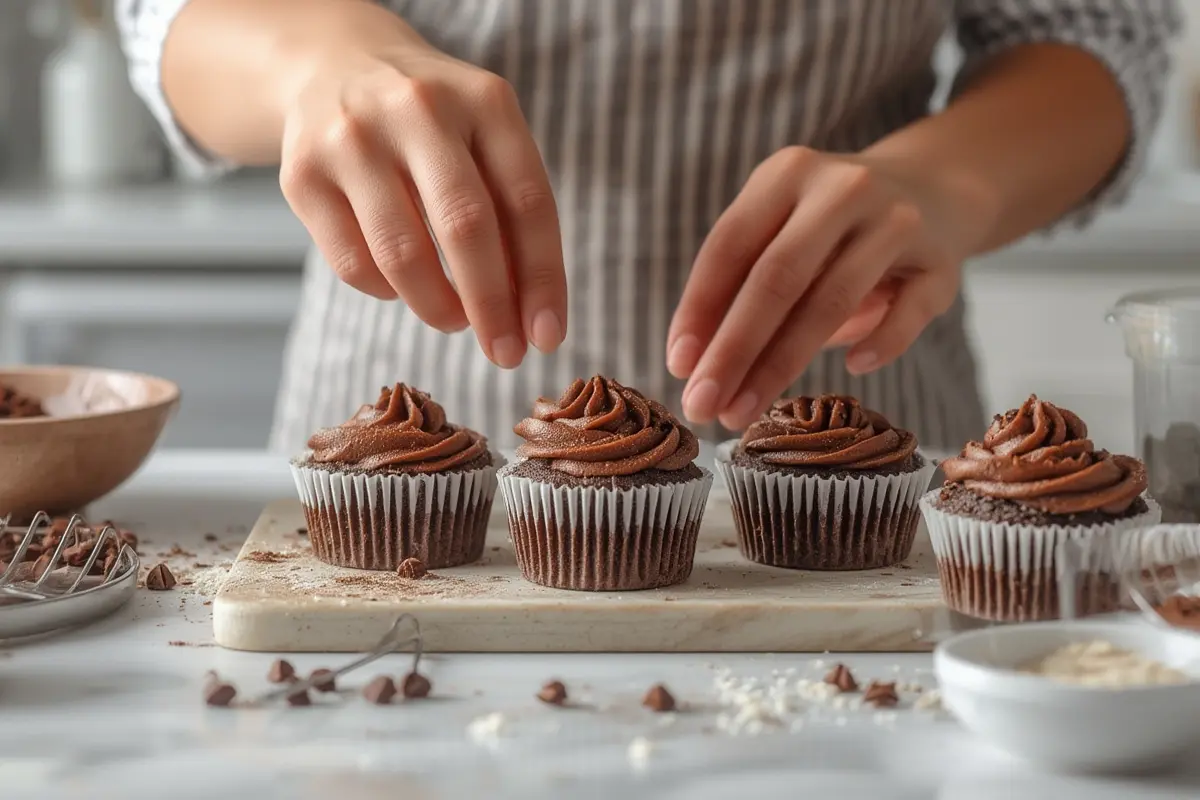
8. Prepare Glaze: Whisk together powdered sugar, cooled espresso, and vanilla until smooth.
9. Glaze Cupcakes: Once cupcakes are completely cool, drizzle or spread the espresso glaze over the tops.
Nutritional Benefits & Advantages
While these treats are indulgent, they do offer some nutritional benefits:
– Dark cocoa powder contains antioxidants and flavonoids
– Coffee contains beneficial compounds that may improve cognitive function
– When made in portion-controlled cupcake form, they help with mindful dessert consumption
– Using quality ingredients ensures maximum flavor satisfaction with reasonable serving sizes
Tips, Variations & Cooking Advice
– Chocolate Chip Addition: Fold in 1/2 cup mini chocolate chips for extra chocolate flavor
– Mocha Frosting Alternative: Replace the glaze with espresso buttercream frosting for a more decadent option
– Dairy-Free Version: Substitute coconut oil for butter and use plant-based milk in the glaze
– Espresso Options: If you don’t have espresso powder, substitute with 1 tablespoon of very finely ground coffee beans
– Spice It Up: Add 1/4 teaspoon cinnamon or a pinch of cayenne for a Mexican chocolate variation
Common Mistakes to Avoid
1. Overmixing the Batter: This creates tough cupcakes. Mix just until ingredients are combined.
2. Overbaking: These should remain slightly fudgy. Remove from oven when a few moist crumbs still cling to a toothpick.
3. Not Cooling Completely: Applying glaze to warm cupcakes will cause it to run off and not set properly.
4. Using Cold Ingredients: Room temperature butter and eggs incorporate better and create a smoother batter.
5. Skimping on Espresso: The coffee flavor should be pronounced to balance the chocolate richness.
Storage & Meal Prep Tips
– Counter Storage: Store in an airtight container at room temperature for up to 3 days.
– Refrigeration: For longer storage, refrigerate for up to 1 week. Bring to room temperature before serving.
– Freezing: Unglazed cupcakes freeze well for up to 3 months. Thaw overnight in the refrigerator and add glaze before serving.
– Make-Ahead Options: Prepare the cupcakes a day ahead and glaze just before serving for optimal freshness.
Conclusion
These delightful Espresso Brownie Cupcakes deliver the perfect blend of deep chocolate flavor with aromatic coffee notes in every bite. Whether you’re hosting a dinner party or simply treating yourself to something special, these Brownie cupcakes are sure to impress. The contrasting textures of fudgy interior and light glaze create a memorable dessert experience that will have everyone asking for seconds!
FAQs
Can I make these cupcakes without espresso powder?
Yes, you can omit it for regular chocolate brownie cupcakes, or substitute with 1 tablespoon of instant coffee granules.
Why did my cupcakes sink in the middle?
This usually happens from opening the oven door too early during baking or from overmixing the batter. Try to avoid opening the oven during the first 15 minutes of baking.
Can I make mini versions of these cupcakes?
Absolutely! Use a mini cupcake pan and reduce the baking time to 10-12 minutes.
How can I make these cupcakes gluten-free?
Substitute the all-purpose flour with a 1:1 gluten-free baking flour blend for similar results.
Can I add alcohol to enhance the flavor?
Yes! Add 1-2 tablespoons of Kahlúa or coffee liqueur to the batter for an adult version with enhanced coffee notes.