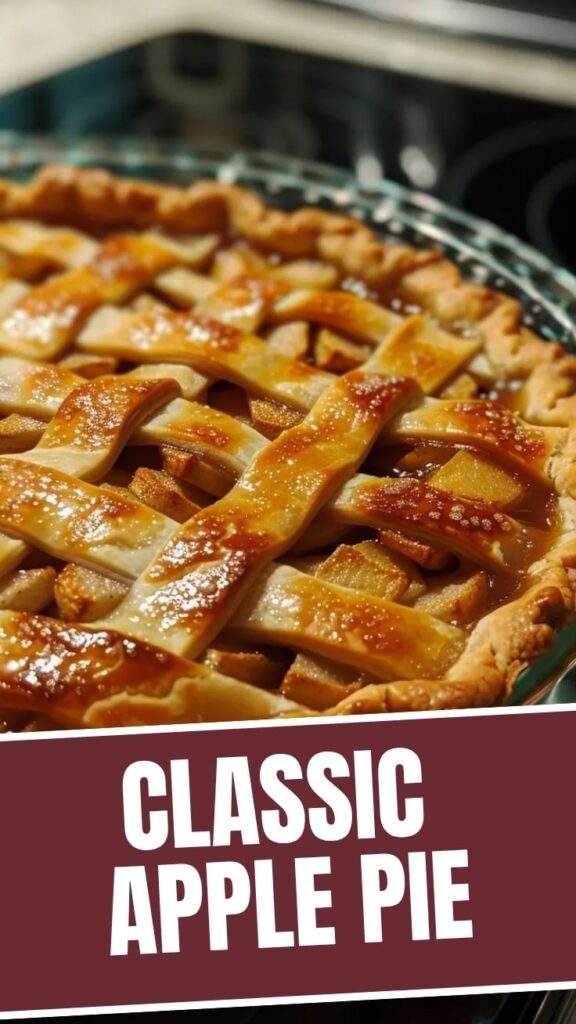
The Ultimate Guide to Making the Perfect Classic Apple Pie at Home
Is there anything more comforting than the aroma of a buttery, cinnamon-spiced apple pie wafting through your kitchen? While store-bought versions are convenient, nothing compares to the flaky, golden crust and tender, perfectly sweetened filling of a homemade pie. Preparing it yourself gives you total control over ingredients, sugar levels, and spice intensity, ensuring a dessert that tastes like pure nostalgia and love. This Apple Pie (Classic) recipe delivers that bakery-quality result every time, using Grandma’s apple pie recipe as its trusted foundation. With simple techniques and clear steps, you’ll create a dessert that steals the show at any gathering.
Ingredients & Kitchen Tools
For the Pie Crust:
– 2½ cups all-purpose flour (or use 1:1 gluten-free blend)
– 1 teaspoon salt
– 1 tablespoon granulated sugar
– 1 cup cold unsalted butter (cut into small cubes)
– 6–8 tablespoons ice water
For the Apple Filling:
– 6–7 medium apples (Granny Smith, Honeycrisp, or Fuji for best texture)
– ¾ cup granulated sugar
– ¼ cup packed brown sugar
– 2 tablespoons all-purpose flour (or cornstarch for gluten-free)
– 1½ teaspoons ground cinnamon
– ¼ teaspoon nutmeg
– ⅛ teaspoon ground cloves
– 2 tablespoons fresh lemon juice
– 1 teaspoon vanilla extract
– 2 tablespoons unsalted butter (for dotting on top)
Kitchen Tools: 9-inch pie dish, rolling pin, large mixing bowls, pastry cutter or food processor, sharp knife or apple peeler, parchment paper, aluminum foil (for edges), pastry brush.
Optional Substitutions: Coconut sugar for brown sugar, vegan butter for dairy-free, and oat flour for thickening.
Prep Time & Cooking Schedule

– Prep Time: 30–40 minutes (includes peeling, slicing, and making dough)
– Chill Time: 1 hour (for dough) + 20 minutes (shaped crust) – crucial for flaky layers
– Bake Time: 50–60 minutes
– Cool Time: At least 3 hours (filling needs to set)
Plan ahead: Make the dough a day in advance and rest it overnight in the fridge. Prep your apple filling while the dough chills. This schedule ensures stress-free assembly and a pie that slices cleanly.
Step-by-Step Instructions
1. Prepare the Dough: In a large bowl, whisk flour, salt, and sugar. Cut cold butter cubes into the flour using a pastry cutter until pea-sized crumbs form. Drizzle in ice water one tablespoon at a time, tossing with a fork until dough just holds together. Divide into two disks, wrap in plastic, and refrigerate for at least 1 hour.
2. Make the Filling: Peel, core, and slice apples to ¼-inch thick. In a large bowl, toss apples with lemon juice, both sugars, flour, cinnamon, nutmeg, and cloves. Let sit for 15 minutes – this draws out natural juices that become the syrupy sauce.
3. Roll and Assemble: On a floured surface, roll one dough disk into a 12-inch circle. Transfer to your pie dish, gently pressing into the bottom and sides. Pour the apple filling into the crust, mounding slightly in the center. Dot with small butter pieces.
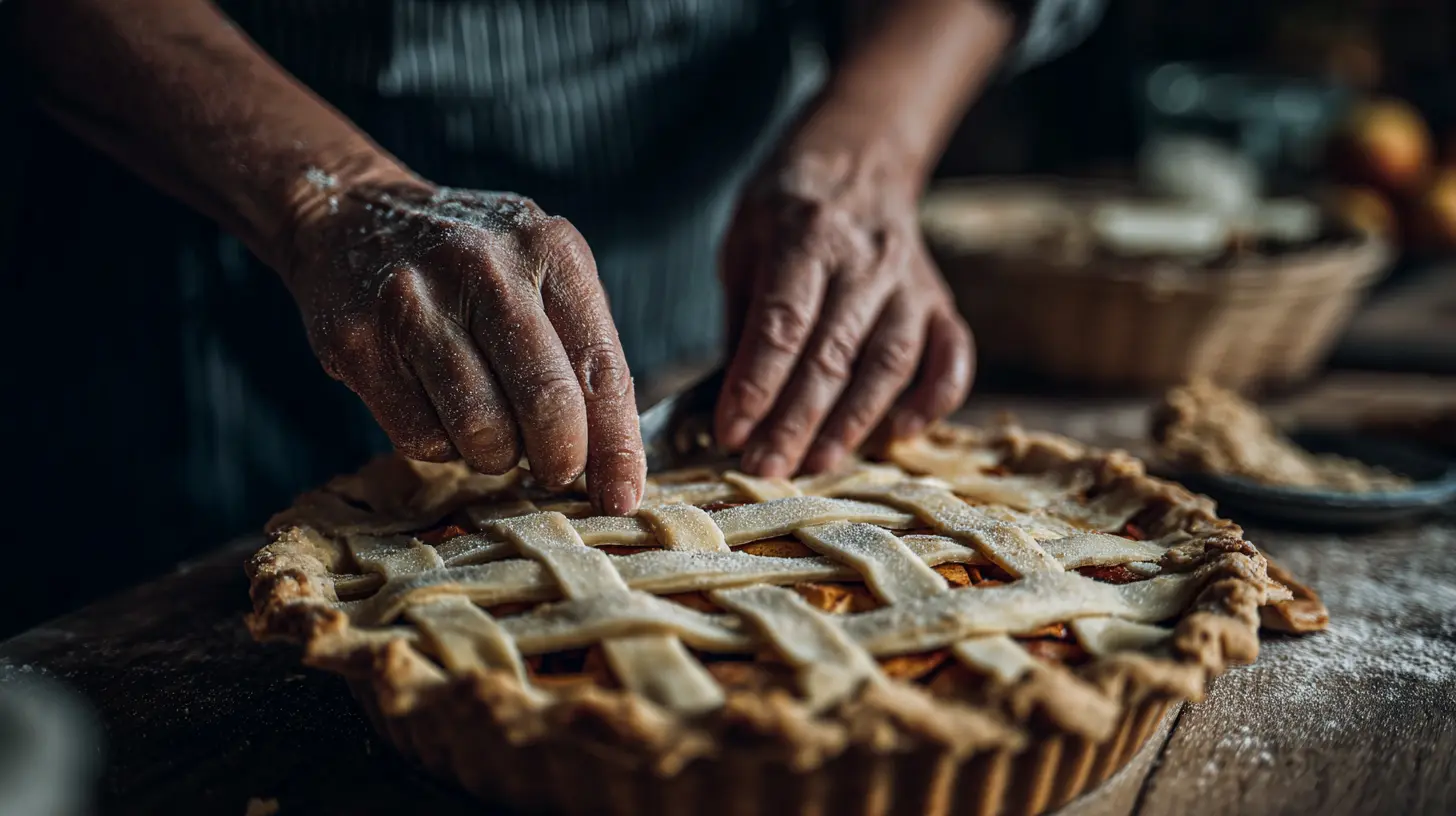
4. Top Crust: Roll the second dough disk and place over the filling. Trim excess dough, crimp edges with fingers or a fork, and cut 4–5 steam vents in the top. Pro tip: Brush with an egg wash (1 egg + 1 tablespoon water) and sprinkle raw sugar for a shiny, crispy finish.
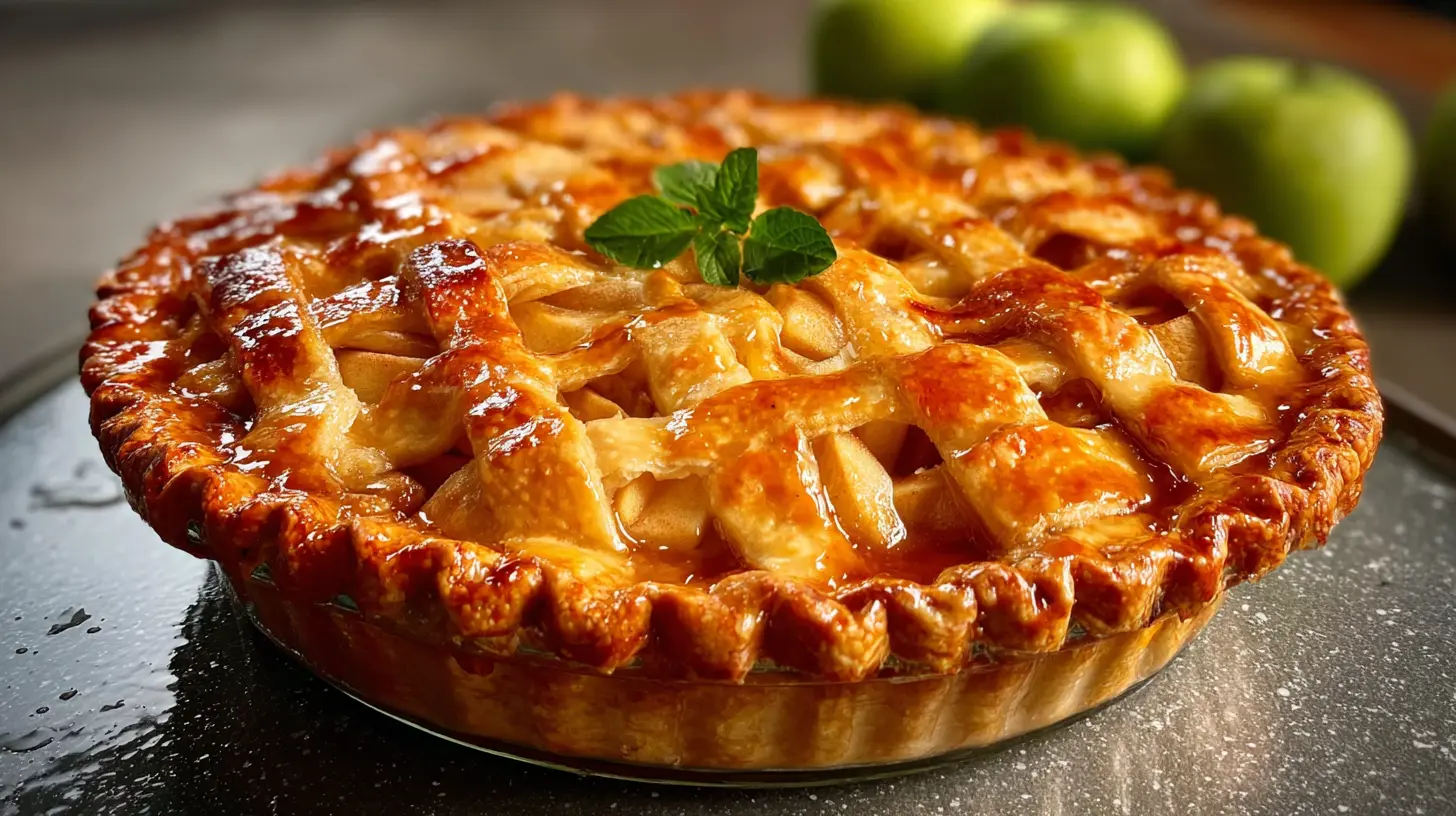
5. Bake: Place pie on a baking sheet to catch drips. Bake at 425°F for 15 minutes, then reduce heat to 375°F and bake another 40–50 minutes. Check halfway – if edges brown too quickly, tent with foil. A perfectly baked this classic apple pie will have bubbling, thickened juices visible through the vents. The exact method follows Grandma’s apple pie recipe technique of temperature changes for a flaky crust.
6. Cool: Let the pie cool on a wire rack for at least 3 hours. Cutting too early will result in a runny filling.
Nutritional Benefits & Advantages
Apples are naturally rich in fiber and vitamin C, especially when you leave the peels on (though peeled yields a more tender texture). Cinnamon helps stabilize blood sugar, while the moderate sugar content in this recipe keeps it balanced. A single serving (⅛ of pie) contains roughly 380 calories, 6g fiber, and 12g fat – a worthwhile indulgence when made from scratch. You control the quality of ingredients, avoiding preservatives and high-fructose corn syrup found in store-bought versions.
Tips Variations & Cooking Advice
– Flavor Boost: Add ¼ teaspoon cardamom or orange zest for a fragrant twist.
– Apple Swap: Use a mix of tart and sweet – Granny Smith + Gala is beautiful.
– Dietary: Use gluten-free flour blend (with xanthan gum) for the crust and oat flour for the thickener. Cold butter substitute: coconut oil for dairy-free.
– Cooking Method: Not a pie? Bake the filling in ramekins with a single top-crust for personal “apple crumbles.”
– Texture Trick: Partially cook the apples in a skillet with butter for 5 minutes before baking to prevent a gap between crust and filling.
Common Mistakes to Avoid
– Soggy Bottom Crust: Blind-bake the bottom crust at 400°F for 10 minutes, weighted with pie weights, before adding filling. Alternatively, sprinkle a thin layer of ground almonds or breadcrumbs on the bottom crust.
– Runny Filling: Don’t skip the flour/starch thickener, and let the baked pie cool completely. Also, avoid over-sugaring fruit – excess sugar liquefies the apples.
– Tough Dough: Overworking develops gluten. Mix just until combined and keep everything cold. Warm hands = tough crust.
– Burnt Edges: Always use a pie shield or foil strips after 20 minutes of baking.
Storage & Meal Prep Tips
– Room Temperature (up to 2 days): Cover loosely with foil or a cake dome. Do not refrigerate uncovered – the crust will dry out.
– Refrigerator (4–5 days): Wrap tightly in plastic wrap or store in an airtight container. Note that the crust may soften slightly.
– Freezer (3 months): Bake fully, cool completely, wrap in several layers of plastic then foil. To serve: thaw overnight in the fridge, then reheat at 350°F for 15 minutes for a freshly baked texture.
– Reheating: Place slices on a baking sheet at 300°F for 10 minutes. Avoid microwaving – it makes the crust soggy.
Conclusion
Mastering this classic apple pie rewards you with a dessert that is both impressive and deeply comforting. By following Grandma’s apple pie recipe techniques – from the cold-butter crust to the perfectly spiced filling – you achieve a balance of textures and flavors that simply can’t be replicated. The golden lattice, the bubbling cinnamon juices, and that first forkful of tender apples are the hallmarks of a pie made with care. I encourage you to try it this weekend, share photos with family, or pair it with a scoop of vanilla bean ice cream. Once you taste the difference, you’ll never go back to store-bought.
FAQs
1. Can I use pre-made crust for this recipe?
Yes, but if using store-bought, blind-bake it for 10 minutes and use a pastry shield to prevent burning. Homemade crust tastes significantly better, but convenience is a valid trade-off.
2. Why are my apples still crunchy after baking?
Thicker slices (above ½ inch) or under-ripe apples often remain firm. Slice to ¼-inch, and if using firm varieties like Granny Smith, sauté them for 3 minutes with sugar before baking.
3. How do I fix a leaky pie during baking?
Place a baking sheet on the lower rack to catch drips. To prevent leaks, seal edges tightly and avoid overfilling. A cornstarch slurry (1 tablespoon cornstarch + 2 tablespoons water) stirred into the filling helps thicken.
4. Can I reduce the sugar significantly?
Absolutely. Drop to ½ cup total sugar for a tangier filling. However, remember that sugar helps break down apples and contributes to the syrupy texture. Artificial sweeteners won’t caramelize the same way.
5. I want a vegan version – how?
Use cold coconut oil or vegan butter sticks for the crust (not tub margarine). Replace butter dots in filling with refined coconut oil. The egg wash can be swapped with plant milk and maple syrup brushed on top.