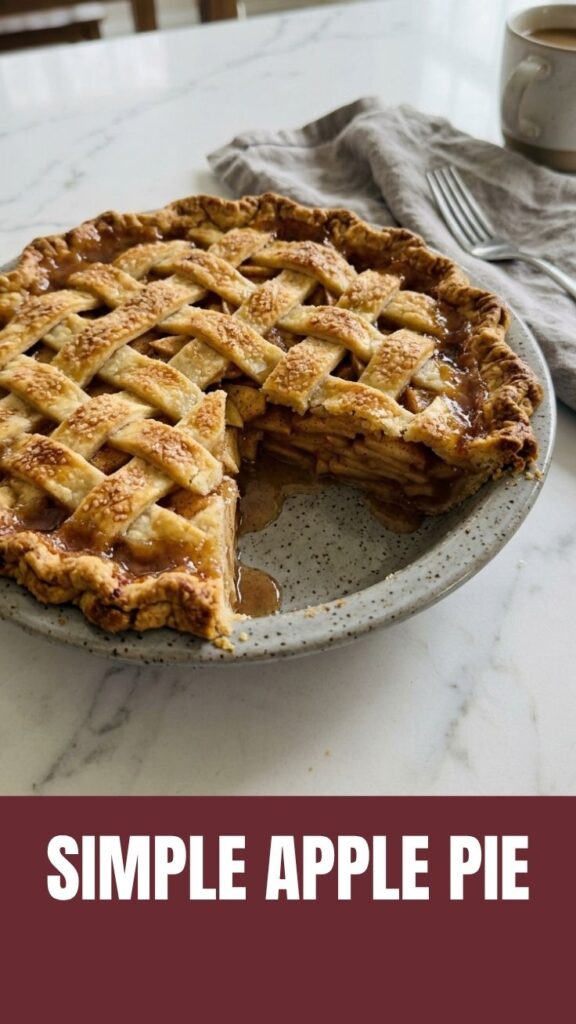
The Ultimate Classic Apple Pie: A Step-by-Step Guide to Perfect Baking at Home
Have you ever wondered what makes a homemade apple pie so irresistible? The combination of tender, spiced apples encased in a flaky, buttery crust is a dessert that evokes comfort and nostalgia. While store-bought pies are convenient, preparing an Apple Pie from scratch allows you to control the quality of ingredients and customize the sweetness to your liking. Moreover, mastering the art of Baking at home not only fills your kitchen with an amazing aroma but also ensures a fresh, satisfying treat that family and friends will love. In this post, you’ll learn every detail needed to create a dessert that shines on any table.
Ingredients & Kitchen Tools
For the crust:
– 2½ cups all-purpose flour (substitute gluten-free 1:1 blend for a GF version)
– 1 cup cold unsalted butter, cubed (or vegan butter for dairy-free)
– ½ tsp salt
– 6–8 tbsp ice water
For the filling:
– 6–7 medium apples (Granny Smith, Honeycrisp, or a mix for balanced tartness)
– ¾ cup granulated sugar (or coconut sugar)
– 2 tbsp all-purpose flour (or cornstarch for thickening)
– 1 tsp ground cinnamon
– ¼ tsp nutmeg
– 1 tbsp lemon juice
– 1 tsp vanilla extract
Tools you’ll need:
– 9-inch pie dish
– Rolling pin
– Pastry blender or two forks
– Mixing bowls
– Parchment paper
– Sharp knife or apple peeler
– Pastry brush (for egg wash)
Prep Time & Cooking Schedule
– Prep time: 30 minutes (peeling, slicing, and making dough)
– Chill time: At least 30 minutes for the dough (can be overnight)
– Cook time: 50–60 minutes at 375°F (190°C)
– Resting time: 2–3 hours on a cooling rack after baking to allow the filling to set
Plan ahead: The dough needs time to relax in the fridge, so start at least an hour before you intend to bake. The pie also needs several hours to cool completely before slicing—otherwise the filling will run.
Step-by-Step Instructions
1. Make the crust: Combine flour and salt. Cut in cold butter until pea-sized crumbs form. Add ice water one tablespoon at a time, mixing until the dough just holds together. Divide into two discs, wrap, and refrigerate for at least 30 minutes.
2. Roll the bottom crust: On a floured surface, roll one disc to a 12-inch circle. Transfer to the pie dish, trim the overhang to ½ inch, and refrigerate while you prepare the filling.
3. Prepare the filling: Peel and slice apples into ¼-inch wedges. Toss with sugar, flour, cinnamon, nutmeg, lemon juice, and vanilla. Let sit for 10–15 minutes to release juices.
4. Assemble the pie: Pour the apple mixture into the chilled bottom crust. Dot with small pieces of extra butter (optional). Roll the second dough disc and place on top. Crimp the edges and cut several steam vents.
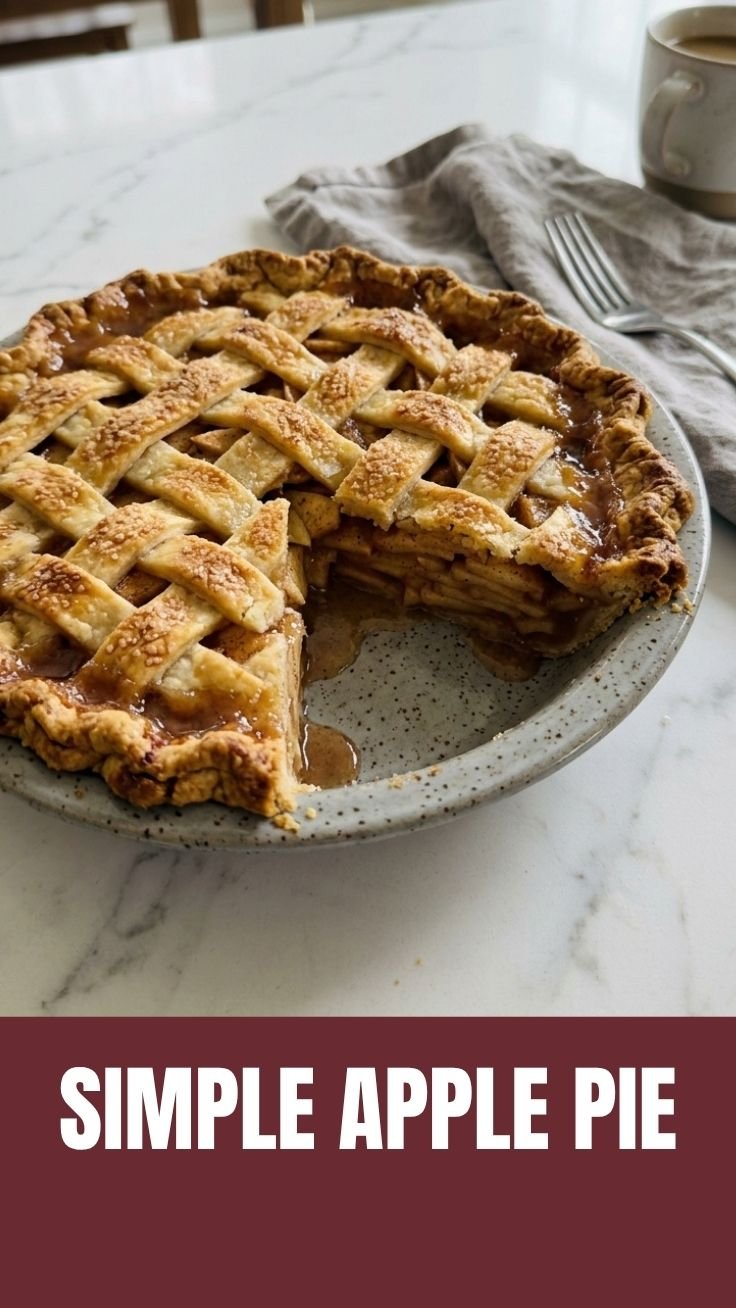
5. Bake: Brush the top with egg wash (1 egg + 1 tbsp water) and sprinkle with coarse sugar. Bake at 375°F for 20 minutes, then reduce to 350°F and bake another 30–40 minutes until the crust is golden and the filling bubbles.
6. Cool: Place the pie on a wire rack and let it rest for at least 2 hours. The secret to a perfect Apple Pie is patience—cutting too early leads to a runny mess. For ideal Baking results, always check internal temperature (filling should reach 195°F) to ensure the apples are tender.
Nutritional Benefits & Advantages
Apples are a nutrient-dense fruit rich in fiber, vitamin C, and antioxidants. When you bake them, the pectin becomes more soluble, supporting digestive health. Using butter in moderation provides fat-soluble vitamins, and cinnamon adds anti-inflammatory properties. This homemade dessert contains no preservatives or high-fructose corn syrup, unlike many store-bought versions. A single slice (1/8 of a 9-inch pie) provides roughly 350–400 calories, making it a satisfying occasional indulgence that fits into a balanced diet.
Tips Variations & Cooking Advice
– Flavor variations: Add ½ cup dried cranberries or chopped walnuts for texture. Swap cinnamon for cardamom or ginger for a unique twist.
– Dietary adaptations: For a gluten-free crust, use a 1:1 gluten-free flour blend with xanthan gum. Replace butter with coconut oil for a dairy-free version.
– Alternative cooking methods: Pre-bake the bottom crust (blind bake) at 400°F for 12 minutes if you prefer a crisper base. You can also make mini hand pies or a galette instead of a traditional pie.
– Portion changes: Double the recipe for a 10-inch pie or cut it in half for a 6-inch dish. Adjust baking time accordingly—smaller pies bake faster.
Common Mistakes to Avoid
– Skipping the chill: Warm dough creates a tough crust. Always refrigerate for at least 30 minutes.
– Overfilling: Too many apples cause the pie to overflow. Use the specified amount and mound slightly in the center.
– Not venting the top: Steam must escape; otherwise the crust becomes soggy. Cut at least four slits.
– Underbaking: Pale crust = raw dough. Bake until deep golden brown and juices bubble visibly.
– Cutting too soon: The filling needs time to set. Let the pie rest 2–3 hours after baking for clean slices.
Storage & Meal Prep Tips
Refrigeration: Cover leftover pie loosely with foil and store in the fridge for up to 4 days. The crust may soften slightly.
Freezing: Wrap the fully baked and cooled pie tightly in plastic wrap and then foil. Freeze for up to 3 months. Thaw overnight in the fridge before serving.
Reheating: Warm individual slices in a 350°F oven for 10 minutes to restore crispness. Avoid the microwave—it makes the crust gummy.
Meal prep: You can prepare the dough discs and freeze them for up to 2 months. Thaw overnight and proceed with the recipe.
Conclusion
Now that you have a complete guide to creating this timeless dessert, you can confidently bake a pie that rivals any bakery version. Remember, the key to a memorable Apple Pie lies in fresh ingredients, careful temperature control, and patience during cooling. By mastering the fundamentals of Baking, you’ll not only produce a delicious treat but also gain skills that apply to many other pastries. Try this recipe this weekend, share your creation on social media, and explore more classic desserts on our site. Happy baking!
FAQs
1. Can I use pre-made pie crust to save time?
Yes, store-bought crust works in a pinch. Just follow the filling and baking instructions. The flavor may not be as rich, but it’s a handy shortcut.
2. Why is my pie filling too runny?
This usually happens if you cut the pie before it cools fully. Also, ensure you use enough thickener (flour or cornstarch). If apples are very juicy, increase the flour to 3 tablespoons.
3. How do I prevent the crust from burning?
Use a pie shield or tent the edges with aluminum foil after the first 20 minutes of baking. Remove the shield for the last 10 minutes to brown the edges.
4. Can I make this apple pie ahead of time?
Absolutely! Bake it 1–2 days before serving, store it refrigerated, and reheat briefly. For best texture, do not freeze an unbaked pie (the crust can become soggy).
5. What apples are best for baking?
Firm, tart apples like Granny Smith, Honeycrisp, or Braeburn hold their shape and balance sweetness. Avoid Red Delicious—they turn mushy.
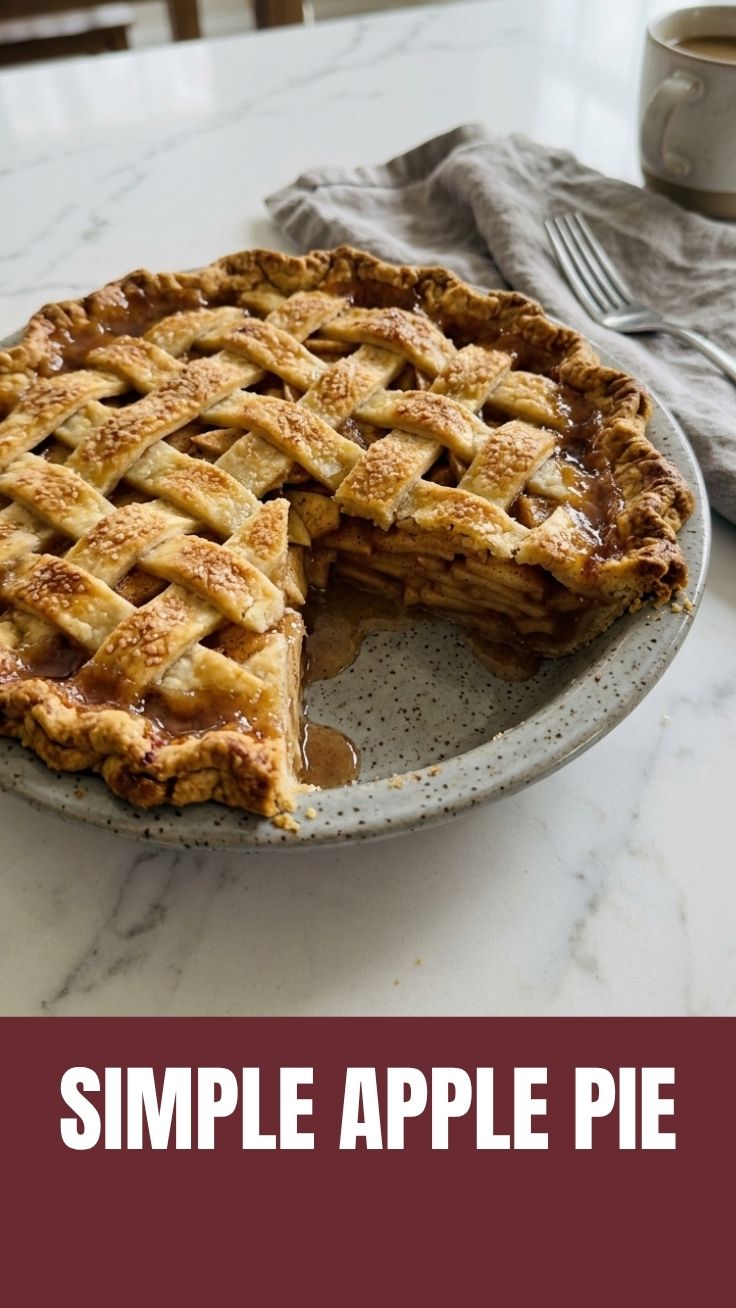
Best way to grow Apple Pie from scratchApple Pie
Ingredients
Equipment
Method
- Combine flour, sugar, and salt in a large bowl, then cut in cold butter until the mixture resembles coarse crumbs.
- Gradually add ice water, mixing until the dough just comes together, avoiding overmixing.
- Divide the dough in half, flatten each into a disk, wrap tightly in plastic, and refrigerate for at least 30 minutes.
- In a large bowl, combine sliced apples with both types of sugar, flour, cinnamon, nutmeg, and lemon juice, ensuring apples are evenly coated.
- Preheat oven to 400°F (200°C) and roll one dough disk into a 12-inch circle, then fit it into a 9-inch pie plate.
- Pour the apple filling into the crust, dot with small pieces of butter, and roll out the second dough disk to cover the pie.
- Trim, crimp, or flute the edges, cut slits in the top crust for ventilation, and brush with beaten egg, sprinkling with Turbinado sugar if desired.
- Bake for 15 minutes at 400°F (200°C), then reduce the temperature to 375°F (190°C) and bake for an additional 45-50 minutes, or until the crust is golden and the filling is bubbly.
- If the crust browns too quickly, cover the edges with aluminum foil.
- Allow the pie to cool completely on a wire rack for at least 2-3 hours before slicing and serving, to allow the filling to set.


