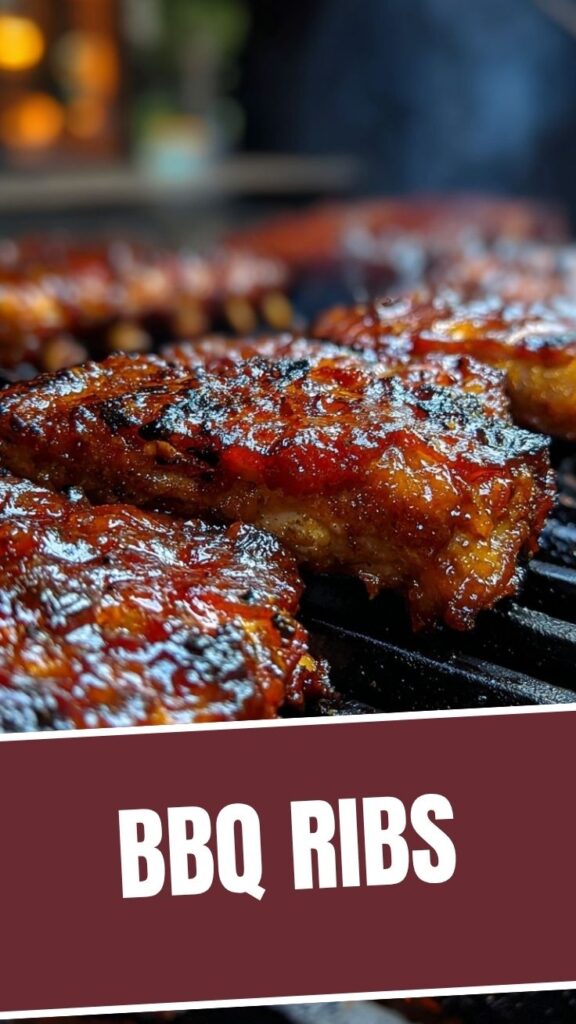
How to Make Perfectly Tender and Juicy BBQ Ribs at Home
Have you ever craved restaurant-quality BBQ Ribs but felt intimidated by the cooking process? The combination of smoky flavors, fall-off-the-bone tenderness, and that sticky, caramelized sauce is truly irresistible. Mastering the art of grilling these succulent meats at home not only saves you money but allows you to customize the flavors to your exact preference. With the right technique, creating mouthwatering BBQ ribs in your own backyard is absolutely achievable for cooks of all skill levels.
Ingredients & Kitchen Tools
For the Ribs:
– 2 racks of pork ribs (baby back or St. Louis style) – Choose ribs with good meat coverage and minimal fat
– 3 tablespoons yellow mustard – Creates a binding layer for the rub
– ¼ cup apple cider vinegar – For spritzing during cooking
– 2 tablespoons olive oil – Helps form a bark on the exterior
For the Dry Rub:
– ¼ cup brown sugar – Adds caramelization and balances spice
– 2 tablespoons paprika – Provides color and mild sweetness
– 1 tablespoon garlic powder – Offers savory depth
– 1 tablespoon onion powder – Creates aromatic foundation
– 1 tablespoon black pepper – Adds essential heat component
– 2 teaspoons salt – Enhances all flavors
– 1 teaspoon cayenne pepper (optional) – For heat lovers
For the BBQ Sauce:
– 1 cup ketchup – Forms the base
– ½ cup brown sugar – Adds sweetness and thickness
– ¼ cup apple cider vinegar – Provides tanginess
– 2 tablespoons Worcestershire sauce – Deepens umami flavor
– 1 tablespoon mustard – Cuts through sweetness
– 1 teaspoon garlic powder – Adds savory notes
– ½ teaspoon liquid smoke (optional) – For enhanced smoky flavor
Kitchen Tools:
– Grill or smoker – Gas or charcoal both work well
– Meat thermometer – Essential for perfect doneness
– Aluminum foil or butcher paper – For the wrapping stage
– Spray bottle – For apple cider vinegar spritz
– Sharp knife – For removing membrane
– Basting brush – For sauce application
Prep Time & Cooking Schedule

– Prep Time: 30 minutes
– Marinating Time: 2-8 hours (overnight preferred)
– Cooking Time: 4-6 hours total
– Resting Time: 15-20 minutes
Plan to start your prep at least a day before serving for optimal flavor development. The cooking process follows the “3-2-1” method: 3 hours of smoking, 2 hours wrapped, and 1 hour unwrapped with sauce.
Step-by-Step Instructions
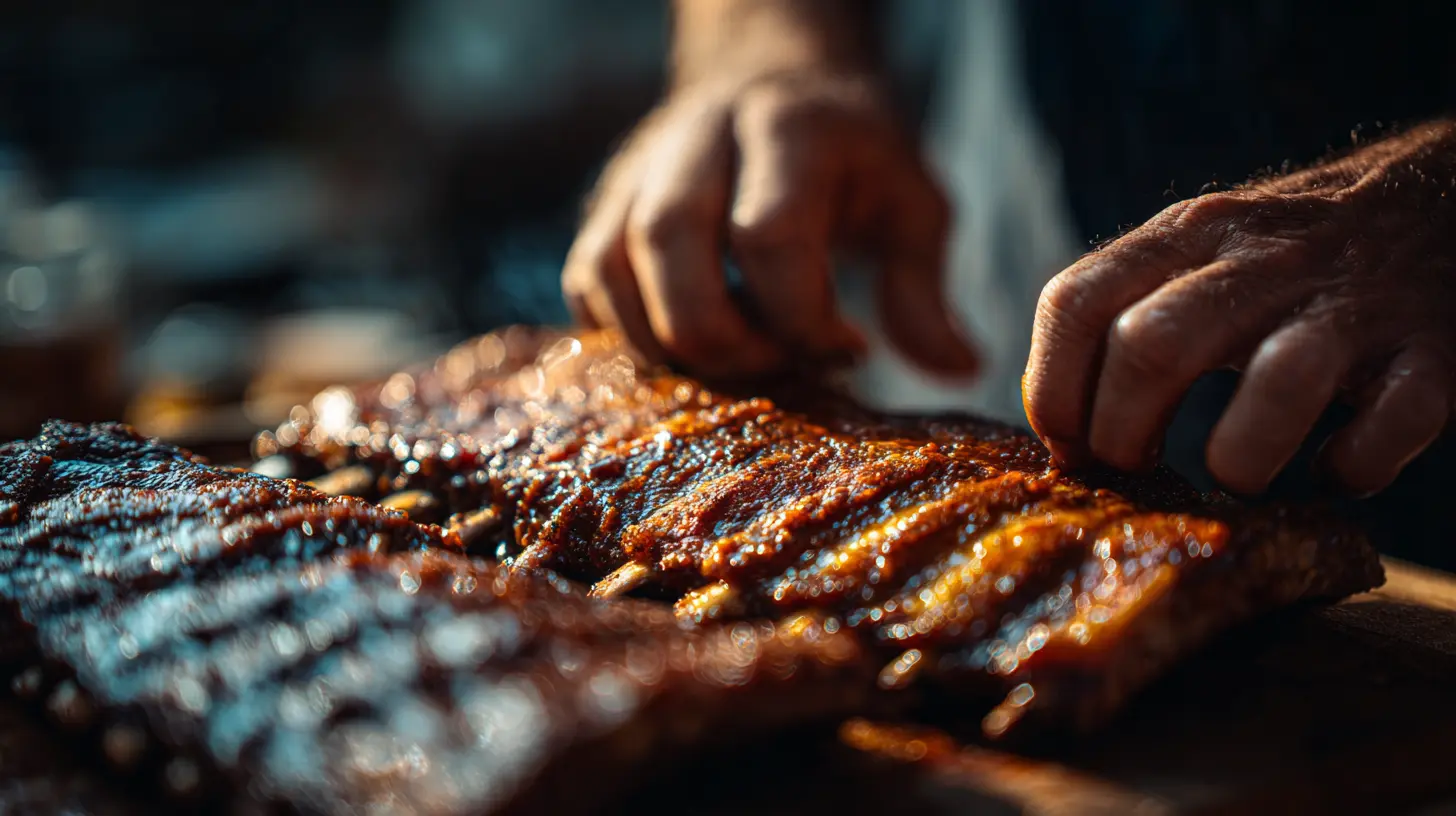
1. Prepare the ribs: Remove the membrane from the bone side of the ribs by sliding a knife under the corner and pulling it away with a paper towel for grip. This ensures the flavors penetrate and prevents chewy texture.
2. Apply the base: Coat both sides of the ribs with yellow mustard, which acts as a binder for your dry rub.
3. Season generously: Apply your dry rub mixture liberally on all sides, pressing it into the meat to create a flavorful crust.
4. Rest and marinate: Wrap the seasoned ribs in plastic wrap and refrigerate for 2-8 hours, allowing the flavors to penetrate the meat.
5. Prepare your grill: Set up your grill for indirect cooking at 225-250°F. Add wood chips for smokiness if desired.
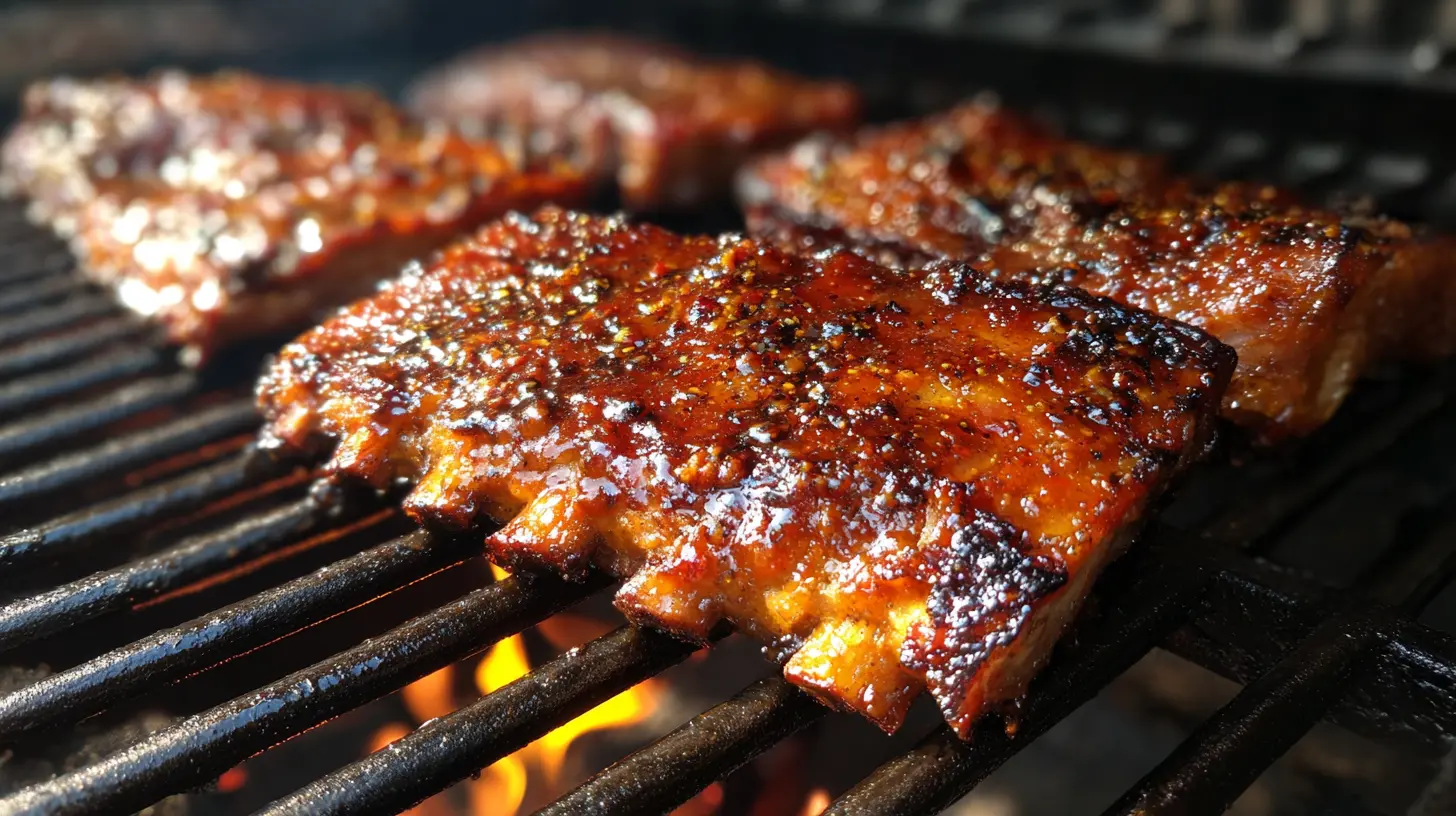
6. Begin smoking: Place the BBQ Ribs on the grill bone-side down, away from direct heat. Smoke for 3 hours, spritzing with apple cider vinegar every 45 minutes.
7. Wrap the ribs: After 3 hours, wrap the ribs tightly in aluminum foil with a splash of apple juice inside the packet. Return to the grilling surface for 2 more hours.
8. Sauce and finish: Unwrap the ribs, brush with BBQ sauce, and return to the grill for a final hour, applying more sauce every 15 minutes until caramelized.
Nutritional Benefits & Advantages
Pork ribs provide substantial protein, supporting muscle growth and repair. They also contain B vitamins, particularly thiamine, riboflavin, and B12, which support energy metabolism and nervous system function. When prepared with a balanced rub and homemade sauce, you can control sodium and sugar levels while incorporating beneficial spices like paprika, which contains antioxidants and anti-inflammatory compounds.
Tips, Variations & Cooking Advice
– Rub variations: Add coffee grounds for richness, cinnamon for warmth, or cumin for earthiness
– Sauce adaptations: Create Korean-style ribs with gochujang and honey, or try Caribbean flavors with pineapple juice and allspice
– Wood options: Hickory provides classic smokiness, apple wood offers subtle sweetness, and mesquite delivers bold flavor
– Dietary swaps: Use coconut sugar instead of brown sugar for a lower glycemic option
Common Mistakes to Avoid
1. Cooking at too high temperature: Keep your heat low and slow (225-250°F) to prevent tough, dry meat
2. Skipping the membrane removal: This tough layer prevents flavor penetration and creates chewy texture
3. Applying sauce too early: Adding sauce before the final stage causes burning due to sugar content
4. Not allowing enough time: Rushing ribs results in tough meat; patience is essential for tenderness
Storage & Meal Prep Tips
Refrigerate leftover ribs in an airtight container for up to 4 days. For longer storage, wrap portions tightly in foil, then place in freezer bags with air removed, where they’ll keep for up to 3 months. When reheating, add moisture by wrapping in foil with a tablespoon of apple juice and warming in a 275°F oven until they reach 165°F internally.
Conclusion
Mastering homemade BBQ Ribs is truly a culinary achievement worth celebrating. The combination of patient cooking, strategic seasoning, and proper grilling techniques transforms a simple cut of meat into a spectacular feast that rivals any restaurant offering. Try this method once, and you’ll find yourself eagerly anticipating your next backyard barbecue session, confident in your ability to deliver ribs that will impress even the most discerning meat lovers.
FAQs
Can I make these ribs in the oven instead of on a grill?
Yes! Maintain the same cooking temperatures and times, using a roasting pan with a rack. Add liquid smoke to your rub or sauce for a similar smoky flavor.
How can I tell when my ribs are perfectly done?
Look for the meat to pull back from the bone ends by about ½ inch. When you pick up the rack with tongs in the middle, it should bend significantly and start to crack in the crust.
Is it necessary to remove the membrane?
While technically edible, removing the membrane allows better flavor penetration and prevents a chewy texture. For best results, don’t skip this step.
Can I prepare the ribs in advance for a party?
Absolutely! Complete the cooking process a day ahead, then refrigerate. Reheat wrapped in foil at 275°F for about 30 minutes, then finish with fresh sauce under the broiler for 3-5 minutes.
What’s the best type of ribs to use for beginners?
Baby back ribs are generally more forgiving for beginners as they cook faster and tend to be more tender than St. Louis or spare ribs.

Quick way to grow 3 BBQ RibsBBQ Ribs
Ingredients
Equipment
Method
- Preheat your oven to 275°F (135°C). Remove the membrane from the back of each rib rack, if present, by sliding a knife under it and pulling it off with a paper towel.
- Generously sprinkle about 2 tablespoons of BBQ rub over all sides of each rib rack, ensuring an even coating. Rub the seasoning into the meat.
- Place each seasoned rib rack on a large piece of aluminum foil. You can add 1 tablespoon of apple cider vinegar, and if desired, 1 teaspoon of liquid smoke to each foil packet.
- Seal the foil packets tightly around the ribs to create a good seal, then place them on a baking sheet.
- Bake in the preheated oven for 2 hours, allowing the ribs to steam and tenderize within the foil.
- After 2 hours, carefully remove the baking sheet from the oven and open the foil packets, then drain any accumulated liquid.
- Increase the oven temperature to 375°F (190°C), brush both sides of the ribs with BBQ sauce, and return them to the oven without the foil.
- Bake for an additional 15-20 minutes, or until the sauce is caramelized and the ribs are tender.
- Once cooked, remove the ribs from the oven and let them rest for 5-10 minutes before slicing and serving.