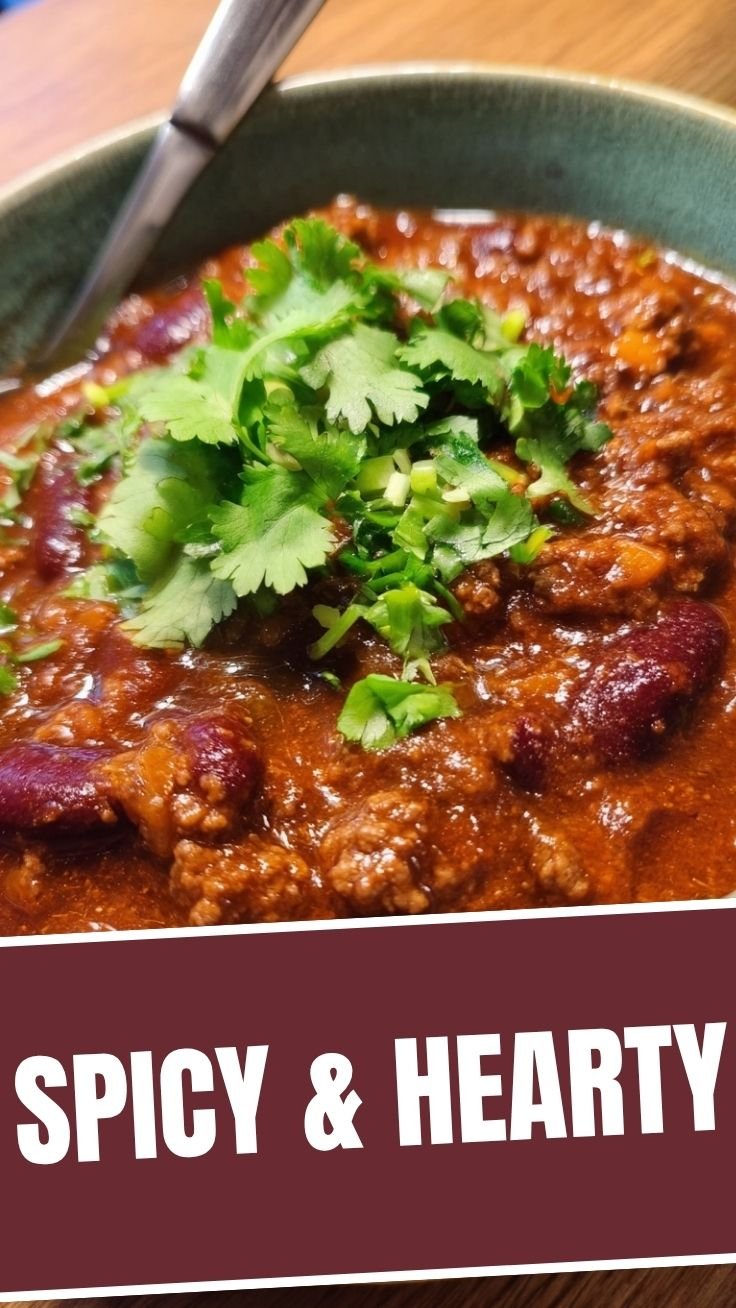
Classic Homemade Chili Dog: The Ultimate Comfort Food Recipe
Are you craving that nostalgic ballpark flavor but want to elevate it with homemade goodness? Creating the perfect chili dog at home isn’t just about convenience—it’s about crafting a personalized comfort food experience that surpasses anything you’d get at a concession stand. The secret lies in preparing authentic Chili con Carne that pairs perfectly with juicy hot dogs and your favorite Tex-Mex toppings for a meal that satisfies on every level.
Ingredients & Kitchen Tools
For the Chili con Carne:
– 1 lb ground beef (80/20 lean-to-fat ratio for optimal flavor)
– 1 medium yellow onion, finely diced
– 3 garlic cloves, minced (fresh provides better flavor than powder)
– 1 red bell pepper, diced
– 2 tablespoons chili powder
– 1 tablespoon cumin
– 1 teaspoon oregano (Mexican oregano preferred)
– 1 teaspoon smoked paprika
– ½ teaspoon cayenne pepper (adjust to your heat preference)
– 1 can (14.5 oz) diced tomatoes
– 1 can (8 oz) tomato sauce
– 1 tablespoon brown sugar (balances acidity)
– Salt and black pepper to taste
For the Chili Dogs:
– 8 all-beef hot dogs (Nathan’s or Hebrew National recommended)
– 8 hot dog buns (brioche buns elevate the experience)
– 1 cup shredded cheddar cheese
– ½ cup diced white onions
– Jalapeños, sliced (optional)
– Sour cream (optional)
Kitchen Tools:
– Large dutch oven or heavy-bottomed pot
– Wooden spoon
– Measuring spoons and cups
– Sharp chef’s knife
– Cutting board
– Grill pan or skillet (for hot dogs)
– Serving bowls and utensils
Prep Time & Cooking Schedule
– Prep Time: 15 minutes (chopping and measuring)
– Cooking Time: 45-60 minutes (longer simmering enhances flavor development)
– Total Time: 60-75 minutes
– Servings: 8 chili dogs
This recipe is perfect for weekend game days or casual gatherings. The chili can be made a day ahead and reheated, as the flavors actually improve overnight.
Step-by-Step Instructions
1. Prepare the Base: Heat your dutch oven over medium heat and add a tablespoon of oil. Add the diced onions and cook until translucent (about 4 minutes). Add the garlic and cook for another 30 seconds until fragrant.
2. Brown the Meat: Add the ground beef to the pot, breaking it apart with a wooden spoon. Cook until no pink remains (about 7-8 minutes). Drain excess fat if desired, but leaving some enhances flavor.
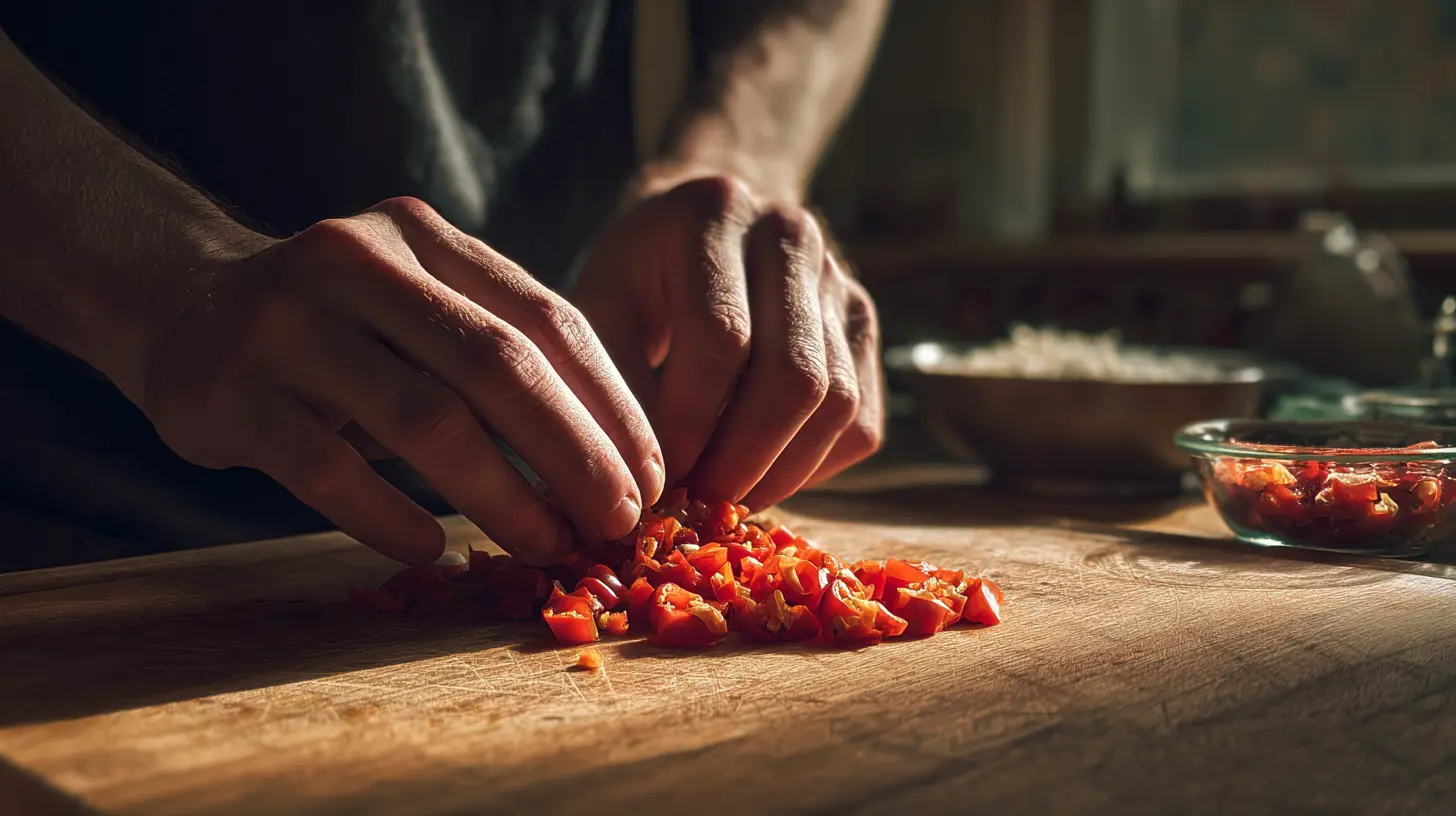
3. Add Aromatics and Spices: Stir in the bell pepper, chili powder, cumin, oregano, smoked paprika, and cayenne. Cook for 2 minutes to toast the spices and release their essential oils.
4. Simmer the Chili: Pour in the diced tomatoes and tomato sauce. Add the brown sugar, salt, and pepper. Bring to a gentle boil, then reduce heat to low and simmer uncovered for at least 30 minutes, stirring occasionally. The authentic Chili con Carne should thicken to the perfect consistency for Tex-Mex topping.
5. Prepare Hot Dogs: While the chili simmers, grill or pan-fry the hot dogs until they develop a slight char.
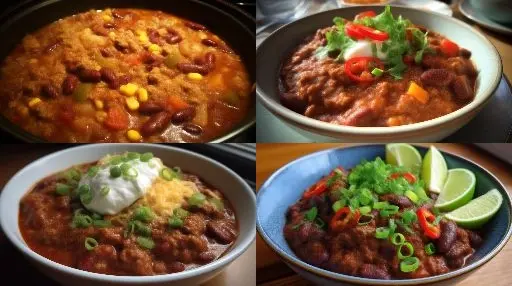
6. Assemble: Warm the buns slightly, place a hot dog in each, and generously ladle the chili over each dog. Top with shredded cheese, diced onions, and optional jalapeños and sour cream.
Nutritional Benefits & Advantages
While chili dogs are indulgent comfort food, they do offer some nutritional benefits. The beef provides high-quality protein and iron, while the tomatoes contribute lycopene, a powerful antioxidant. Adding fresh toppings like onions and peppers increases the fiber and vitamin content. For a healthier version, consider using turkey or chicken hot dogs and whole grain buns.
Tips, Variations & Cooking Advice
– For a smoky flavor, add a tablespoon of adobo sauce from canned chipotles
– Make it vegetarian by substituting lentils or texturized vegetable protein for the beef
– Create a Cincinnati-style variation by adding cinnamon and chocolate
– For a lower-carb option, serve the chili and dog in a lettuce wrap instead of a bun
– Consider adding beans if you prefer (though traditional Texas-style chili doesn’t include them)
Common Mistakes to Avoid
1. Rushing the simmer time: Allow the chili to simmer slowly to develop deep flavors
2. Overseasoning too early: Add salt gradually and taste as you go
3. Using low-quality hot dogs: Quality matters; all-beef hot dogs provide the best flavor
4. Watery chili: If your chili is too thin, simmer longer uncovered or add a cornstarch slurry
5. Cold buns: Always warm your buns slightly for the best texture and experience
Storage & Meal Prep Tips
The chili can be refrigerated for up to 4 days in an airtight container. It freezes exceptionally well for up to 3 months – portion into freezer bags for easy reheating. When ready to serve, thaw overnight in the refrigerator and reheat gently on the stovetop, adding a splash of beef broth if needed to adjust consistency.
Conclusion
Mastering the homemade chili dog with authentic Chili con Carne brings restaurant-quality comfort food right to your kitchen. The rich, complex flavors of this Tex-Mex classic transform a simple hot dog into a satisfying meal that’s perfect for casual gatherings or weeknight dinners. Don’t be surprised if friends and family start requesting your signature chili dogs at every opportunity!
FAQs
Can I make this recipe spicier?
Absolutely! Increase the cayenne pepper or add diced jalapeños directly to the chili while cooking for additional heat.
Can I make the chili in a slow cooker?
Yes, brown the meat and sauté the vegetables first, then transfer everything to a slow cooker and cook on low for 6-8 hours.
Is there a way to make this recipe lower in fat?
Use lean ground beef (90/10) or substitute ground turkey. You can also use reduced-fat cheese and light hot dogs.
Can I add beans to the chili?
While not traditional for hot dog chili, you can add kidney or pinto beans if desired. Add them in the last 15 minutes of cooking.
How do I prevent the hot dog buns from getting soggy?
Toast the buns lightly before assembling, and if planning to serve later, keep the chili separate until ready to eat.

Best way to grow the perfect Chili con Carne
Ingredients
Equipment
Method
- Start your chili seeds indoors 8-12 weeks before the last frost date, planting them in small pots with well-draining soil and keeping the soil consistently moist.
- Provide plenty of sunlight or use a grow light to ensure your seedlings receive adequate light for strong initial growth.
- Once seedlings have developed a few true leaves and all danger of frost has passed, transplant them into larger pots or directly into your garden, ensuring proper spacing.
- Water regularly, especially during dry periods, and fertilize every 2-4 weeks with a balanced liquid fertilizer to support healthy plant development and fruit production.
- Harvest your chilies when they reach their mature color and size by carefully cutting them from the plant, avoiding damage to the branches.
- In a large pot or Dutch oven, brown the ground beef over medium-high heat, then drain any excess fat.
- Add the chopped onion and minced garlic to the pot, cooking until softened.
- Stir in the canned tomatoes, kidney beans, chili powder, cumin, salt, black pepper, and your freshly harvested and diced chilies.
- Bring the mixture to a simmer, then reduce heat to low, cover, and cook for at least 1-2 hours, stirring occasionally, to allow the flavors to meld.
- Taste and adjust seasonings as needed before serving hot with your favorite toppings.