
Artisan Sourdough Bread Recipe: The Ultimate Guide for Home Bakers
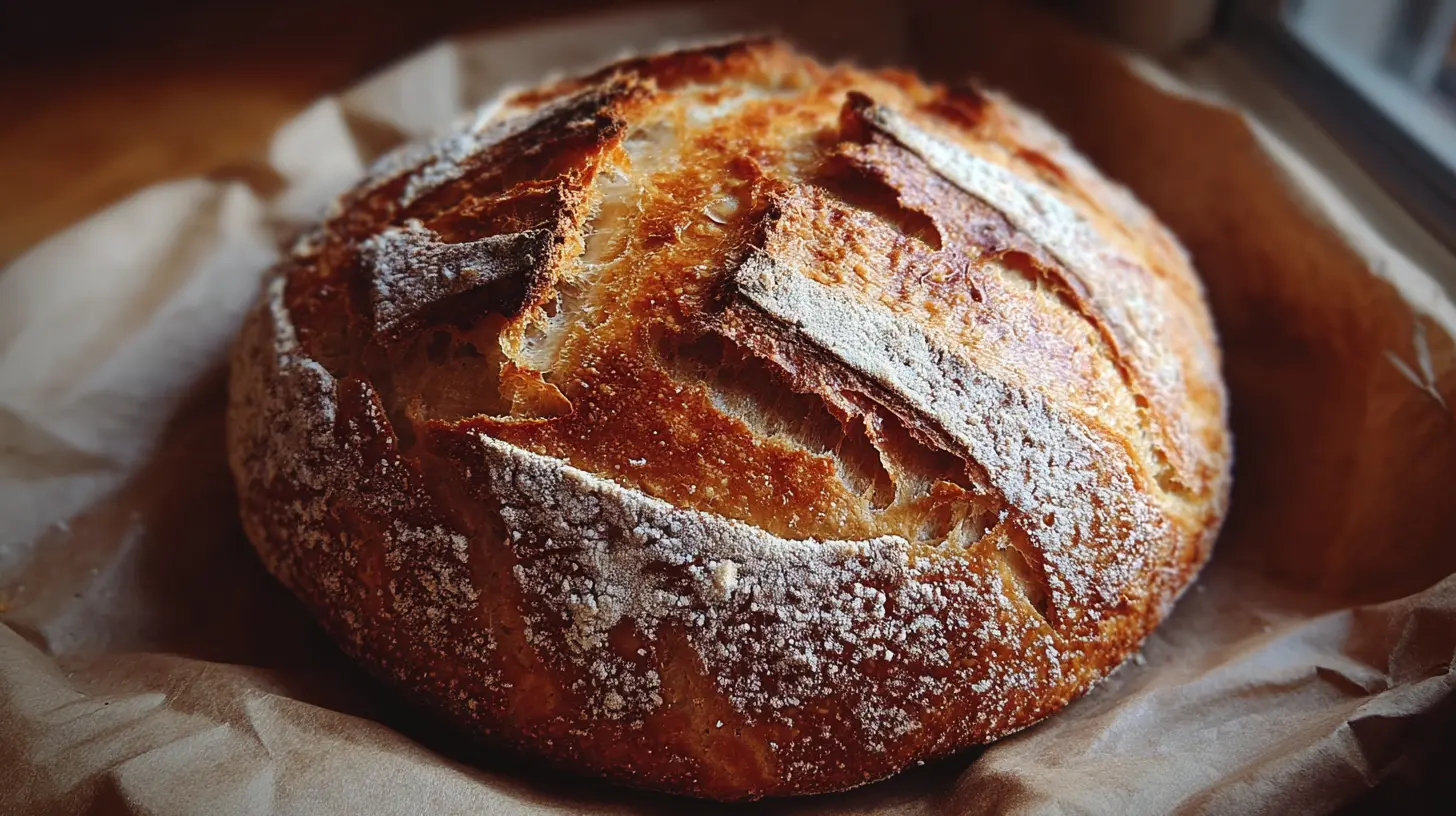
There’s something magical about the aroma of freshly baked Sourdough Bread filling your kitchen. Have you ever wondered how artisanal bakeries achieve that perfect crust and tangy interior? With patience and the right Sourdough Starter, you can create bakery-quality loaves in your own home. This ancient bread-making method produces not only exceptional flavor but also a more digestible bread with a longer shelf life than commercial varieties. Let’s dive into this timeless culinary craft that connects us to thousands of years of baking tradition.
Ingredients & Kitchen Tools
For the Dough:
– 500g bread flour (12-14% protein content for optimal gluten development)
– 350g filtered water at room temperature (chlorine can inhibit fermentation)
– 100g active Sourdough Starter (fed 8-12 hours before use)
– 10g sea salt (fine grain dissolves more easily)
– 20g rice flour for dusting (prevents sticking without being absorbed)
Kitchen Tools:
– Digital kitchen scale (precision is crucial for consistency)
– Mixing bowl (ceramic or glass maintains temperature better)
– Dough scraper (plastic for mixing, metal for cutting)
– Banneton basket or bowl with cloth liner (creates the classic spiral pattern)
– Dutch oven or baking stone (creates steam for optimal crust development)
– Scoring knife or razor blade (lame) for decorative cuts
– Thermometer (ambient and dough temperature affect fermentation rates)
Prep Time & Cooking Schedule

Total Process: 24-36 hours (mostly hands-off fermentation time)
– Active starter preparation: 8-12 hours
– Autolyse period: 30 minutes
– Initial mixing and folding: 20 minutes
– Bulk fermentation: 4-6 hours (with folds every 30 minutes for first 2 hours)
– Shaping and bench rest: 30 minutes
– Final proofing: 12-14 hours in refrigerator
– Baking time: 45-50 minutes
– Cooling period: Minimum 1 hour (essential for texture development)
This extended timeline allows for flavor development through slow fermentation. Start this project when you’ll be home intermittently for the first day, with baking occurring the following day.
Step-by-Step Instructions
1. Prepare your starter: Ensure your Sourdough Starter is active and bubbly, having doubled in size since feeding.
2. Autolyse: Mix flour and water (reserve 50g water) in a large bowl until no dry flour remains. Cover and rest for 30 minutes to hydrate flour proteins.
3. Add starter and salt: Add starter and reserved water mixed with salt. Incorporate by pinching and folding the dough until fully integrated.
4. Develop structure: Perform 4-6 sets of stretch and folds at 30-minute intervals. Grab one side of the dough, stretch up, and fold over center. Rotate bowl 90° and repeat three more times.
5. Bulk fermentation: Allow dough to rise at room temperature (75-78°F ideal) until increased in volume by 50% and showing bubbles on surface, typically 4-6 hours.
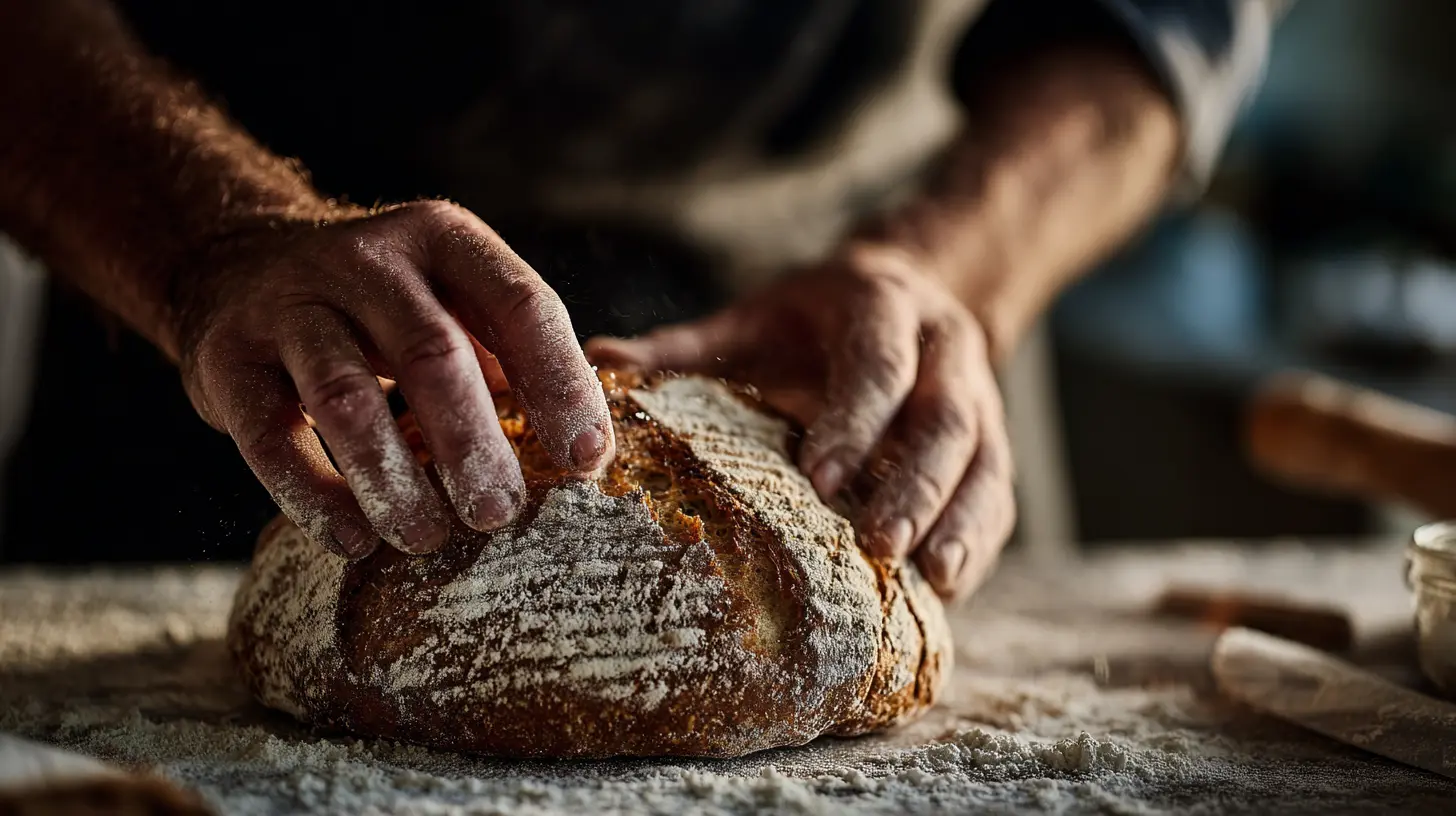
6. Pre-shape: Gently turn dough onto lightly floured surface. Form into rough ball using bench scraper, creating tension on surface. Rest uncovered for 20-30 minutes.
7. Final shape: Dust banneton with rice flour. Shape Sourdough Bread by folding sides inward, then rolling toward you to create tension. Place seam-side up in banneton.
8. Cold proof: Cover and refrigerate 12-14 hours to develop flavor and make scoring easier.
9. Preheat: Place Dutch oven in oven and preheat to 500°F (260°C) for 1 hour.
10. Score and bake: Turn dough onto parchment, score top with sharp blade. Carefully transfer to Dutch oven. Bake covered for 20 minutes, then reduce to 450°F (232°C), remove lid, and bake 25-30 minutes more until deep golden.
11. Cool completely: Allow bread to cool on rack for at least 1 hour before slicing.
Nutritional Benefits & Advantages
The long fermentation process of sourdough improves digestibility by breaking down phytic acid and gluten proteins. This natural leavening method increases mineral absorption, particularly magnesium, iron, and zinc. The lactic acid bacteria in the fermentation process create prebiotics, supporting gut health and creating a lower glycemic response than commercial bread. Additionally, properly fermented sourdough has a longer shelf life without preservatives due to its natural acidity inhibiting mold growth.
Tips, Variations & Cooking Advice
– Flour variations: Experiment with 10-20% whole wheat, rye, or spelt flour for different flavors and textures.
– Hydration adjustment: In humid environments, reduce water slightly; in dry climates, increase water by 5-10%.
– Flavor additions: Incorporate herbs, seeds, or dried fruits during final shaping.
– No Dutch oven? Create steam by placing a tray of ice cubes or boiling water on bottom rack when baking.
– Temperature control: Warmer environments speed fermentation; cooler ones slow it down. Adjust timing accordingly.
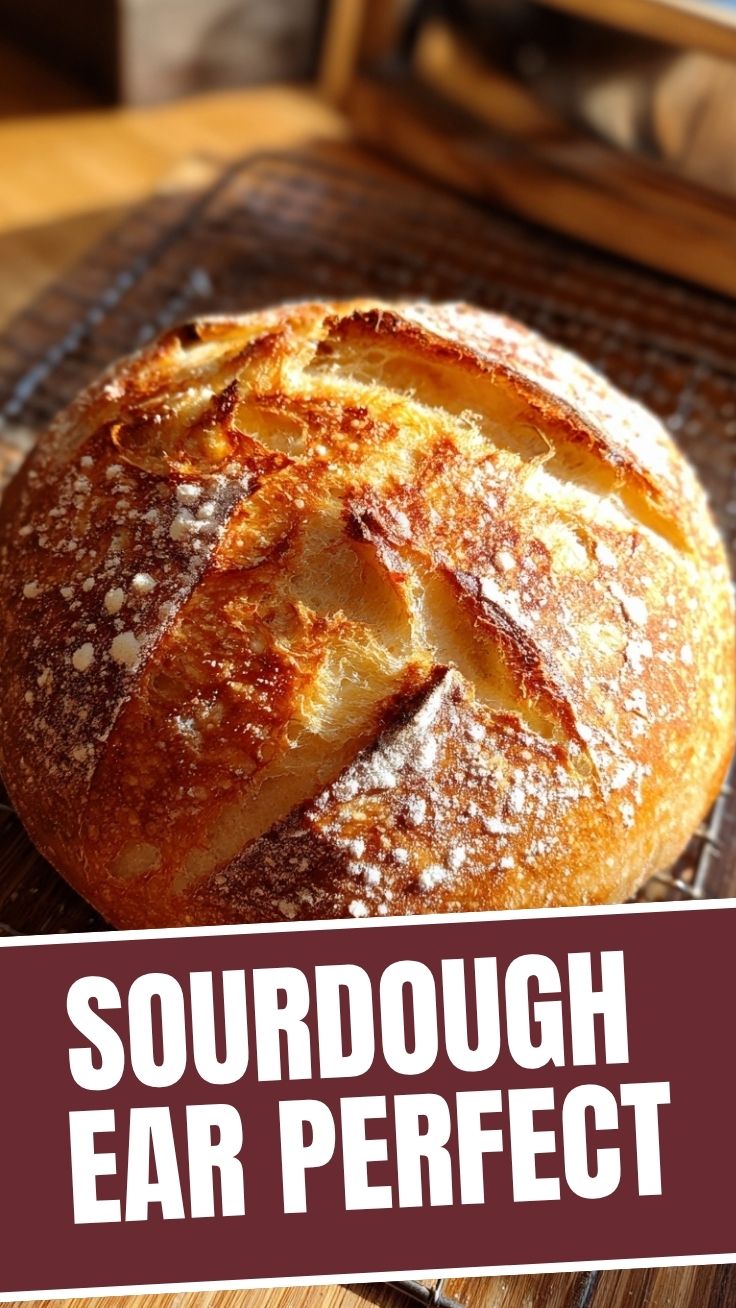
– Scoring designs: Experiment with different patterns beyond the basic slash for both function and aesthetics.
Common Mistakes to Avoid
1. Using inactive starter: Always ensure starter doubles in size after feeding before using.
Solution: Perform the float test—a small amount should float in water when ready.
2. Overproofing: Dough becomes slack, loses tension, and bakes flat.
Solution: Monitor fermentation by volume increase rather than time alone.
3. Insufficient gluten development: Results in dense crumb structure.
Solution: Ensure proper stretch and fold technique during bulk fermentation.
4. Scoring too shallowly: Prevents optimal expansion.
Solution: Use a sharp blade at 45° angle, cutting approximately ¼-inch deep.
5. Opening the oven too early: Causes temperature drop and affects rise.
Solution: Keep oven closed for first 20 minutes of baking.
Storage & Meal Prep Tips
Store your bread cut-side down on a cutting board or wrapped in clean kitchen towel for 2-3 days to maintain crust quality. For longer storage, slice completely cooled bread and freeze in airtight containers with parchment between slices for up to 3 months. Refresh frozen bread by toasting or heating in 350°F (175°C) oven for 5-10 minutes. To revive staling bread, sprinkle with water and heat in 350°F oven for 5-10 minutes.
Conclusion
Mastering Sourdough Bread is a journey that rewards patience and practice with incomparable flavor and satisfaction. The relationship between baker, flour, and Sourdough Starter creates a living tradition that connects us to generations of artisan bakers. Remember that each loaf is a learning opportunity—observe how your bread responds to your specific environment and ingredients, and adjust accordingly. We encourage you to start your sourdough adventure today and share your results with our community of home bakers!
FAQs
Can I use all-purpose flour instead of bread flour?
Yes, but the lower protein content (typically 10-12%) will produce a less chewy texture and potentially less rise. Increase gluten development by adding an extra set of stretch and folds during bulk fermentation.
How do I know when my dough is properly fermented?
Look for 30-50% volume increase, domed surface with visible bubbles, and a dough that feels aerated and puffy when handled gently. The finger dent test should show slow, partial recovery.
Why did my bread flatten during baking?
This typically indicates overproofing or insufficient surface tension during shaping. Try reducing fermentation time or practicing tighter shaping technique to build more structure.
Can I make sourdough without a Dutch oven?
Absolutely! Use a baking stone with a heat-safe container of water on the bottom rack, or an oven-safe pot with lid. The key is creating steam during initial baking.
How can I get a more sour flavor in my bread?
Increase sourness by using a higher percentage of starter (15-20% of flour weight), extending bulk fermentation at room temperature, or using a portion of whole grain flours which ferment more actively.
How to grow sourdough bread Sourdough Bread
Ingredients
Equipment
Method
- In a large bowl, combine the active sourdough starter, warm water, and all-purpose flour. Mix until a shaggy dough forms and then incorporate the salt, kneading for a few minutes until it is fully mixed in.
- Cover the bowl and let the dough rest at room temperature for 30 minutes, then perform a set of stretch and folds. Repeat this process every 30 minutes for a total of 4 sets, and then allow the dough to continue fermenting for another 2-3 hours, or until it has noticeably increased in volume.
- Gently turn the dough out onto a lightly floured surface and shape it into a round or oval. Place the shaped dough into a floured banneton or a bowl lined with a floured cloth, cover, and place in the refrigerator for at least 12 hours, or up to 24 hours.
- Preheat your oven to 450°F (232°C) with a Dutch oven inside for at least 30 minutes. Carefully transfer the cold dough into the hot Dutch oven, score the top with a sharp knife, and bake with the lid on for 30 minutes. Remove the lid and bake for another 20-30 minutes, or until the crust is deeply golden brown.
- Transfer the baked bread to a wire rack and allow it to cool completely before slicing. This is crucial for the crumb to set and for the flavor to fully develop.