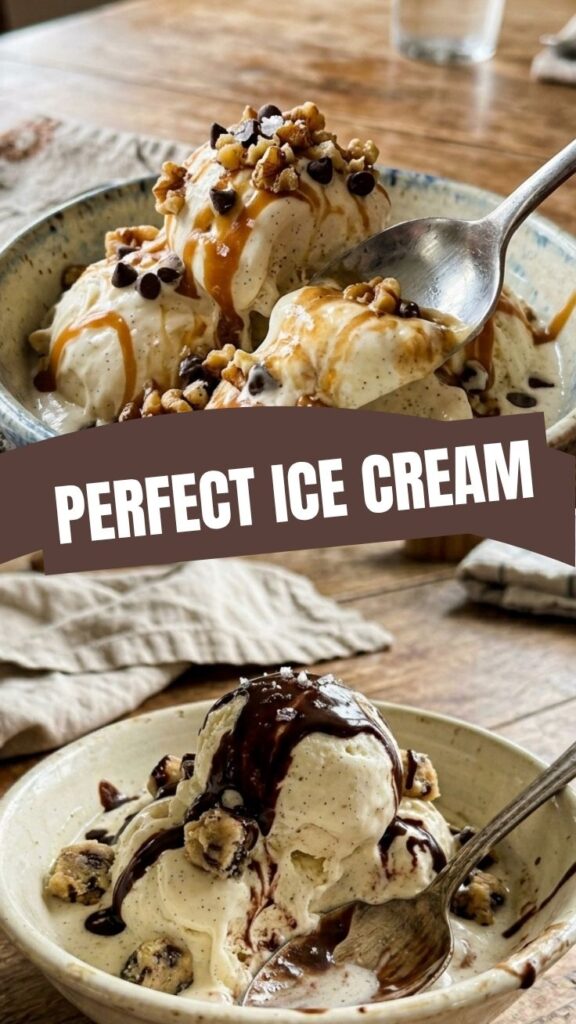
The Ultimate Guide to Creamy Homemade Ice Cream (Vanilla): A Foolproof Recipe for Perfection
Have you ever wondered why store-bought vanilla ice cream never quite captures the pure, nostalgic magic of a scoop made from scratch? The answer lies in the silky richness of real cream, the aromatic depth of fresh vanilla, and the simple joy of crafting something truly special in your own kitchen. Making Homemade Ice Cream (Vanilla) at home isn’t just about dessert—it’s about creating a personalized, preservative-free treat that can elevate any occasion. Whether you’re a seasoned cook or a curious beginner, mastering this classic dessert is a rewarding skill that opens the door to endless flavor possibilities. Exploring other Ice Cream Recipes can further expand your culinary horizons, but this fundamental base is where every great frozen creation begins.
Ingredients & Kitchen Tools
To achieve the silkiest, creamiest texture, gather the following:
For the Custard Base:
– 2 cups heavy cream (high fat content ensures richness)
– 1 cup whole milk (avoid low-fat; fat is crucial for texture)
– ¾ cup granulated sugar (adjusts sweetness and lowers freezing point)
– 1 vanilla bean or 2 teaspoons pure vanilla extract (beans give flecks and depth)
– 5 large egg yolks (brings custard-like smoothness)
– Pinch of salt (balances sweetness)
Optional Substitutions:
– Replace heavy cream with coconut cream for a dairy-free version
– Use a vanilla bean paste as a middle-ground between extract and whole bean
Essential Tools:
– Medium saucepan (preferably stainless steel for even heating)
– Whisk
– Fine-mesh strainer
– Large mixing bowl
– Ice cream maker (churns and aerates for perfect texture)
– Instant-read thermometer (critical for custard safety)
Prep Time & Cooking Schedule
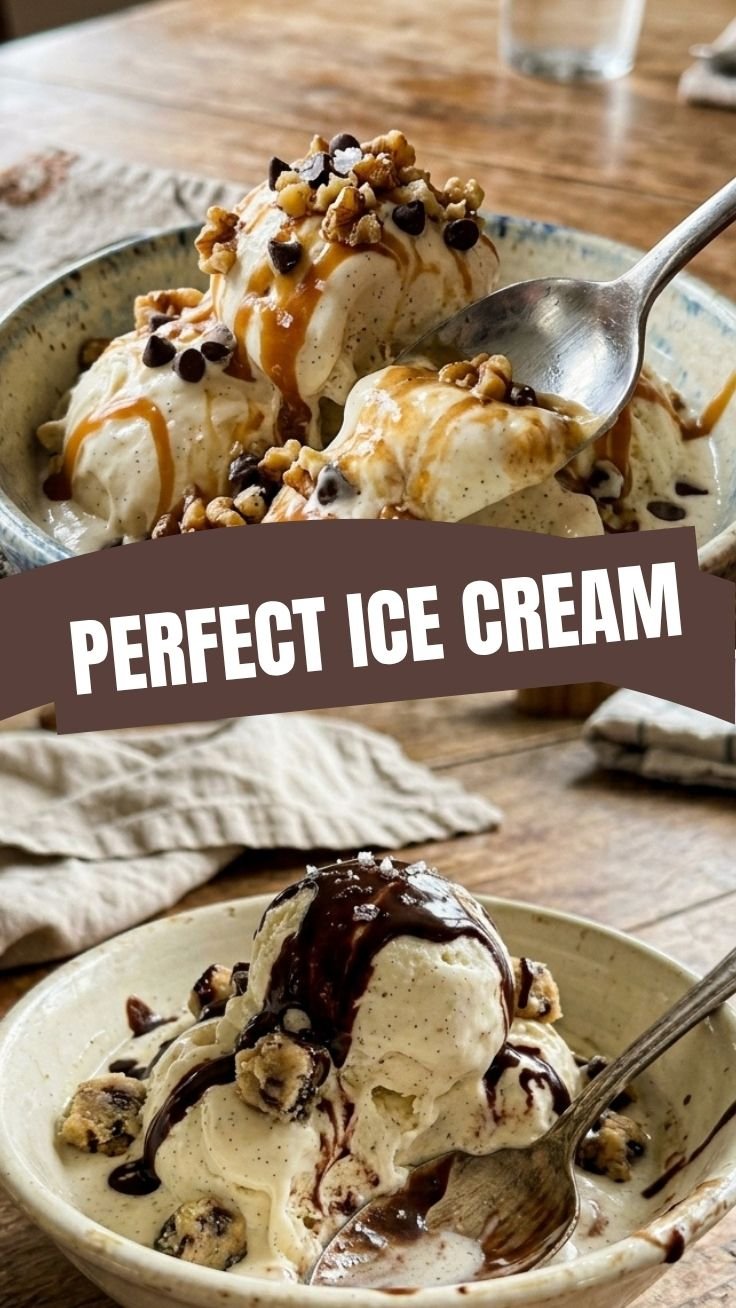
Plan ahead to let the base chill thoroughly—this step is non-negotiable for success.
– Active prep time: 15 minutes
– Cooking time: 10–12 minutes (custard thickening)
– Chilling time: Minimum 4 hours, ideally overnight (allows flavors to meld and texture to stabilize)
– Churning time: 20–30 minutes (depending on your machine)
– Freezing time: 2–4 hours after churning for scoopable consistency
Pro tip: Start the base the day before you plan to serve. This makes the entire process stress-free and ensures the best results.
Step-by-Step Instructions
1. Infuse the cream mixture. In a saucepan, combine heavy cream, milk, half the sugar, and salt. If using a vanilla bean, split it lengthwise and scrape the seeds into the pot, adding the pod. Heat over medium until steaming, not boiling.
2. Temper the egg yolks. Whisk yolks with remaining sugar in a bowl until pale and thickened. Gradually pour a ladleful of hot cream into yolks while whisking continuously, then pour the yolk mixture back into the pan.
3. Cook the custard. Stir constantly over medium-low heat until the mixture coats the back of a spoon (170°F–175°F). This gentle technique is the secret to creamy Homemade Ice Cream (Vanilla).
4. Strain and chill. Immediately pour through a fine-mesh strainer into a bowl. Remove vanilla pod (rinse and dry for reuse). Stir in vanilla extract if using. Cool to room temperature, then refrigerate 4+ hours.
5. Churn and freeze. Pour chilled base into your ice cream maker and churn according to manufacturer instructions until soft-serve consistency. For firmer texture, transfer to a container and freeze 2–4 hours. Experimenting with different Ice Cream Recipes can inspire unique add-ins during this final stage.
Temperature control tip: Overheating the custard will scramble the eggs, while undercooking leaves it thin. Use a thermometer for precision.
Nutritional Benefits & Advantages
This vanilla ice cream offers more than just indulgence. The egg yolks provide vitamin A, D, and choline. Calcium from the milk supports bone health, and the absence of artificial stabilizers means you control the quality. A half-cup serving contains approximately 250–300 calories, which can be reduced by using milk alternatives. Because you’re making it fresh, you avoid high-fructose corn syrup and gums commonly found in commercial brands. This recipe also allows you to experiment with dietary variations, such as replacing sugar with honey or using lactose-free milk, so you can tailor it to your specific needs. The fat content not only creates a luxurious mouthfeel but also helps you feel satiated, making it a more mindful dessert choice.
Tips Variations & Cooking Advice
Flavor Variations:
– Add 1 teaspoon of almond extract for a nutty twist
– Fold in crushed cookies, fresh fruit, or toasted nuts after churning
– Infuse the cream with mint, lavender, or cinnamon for sophistication
Dietary Adaptations:
– Dairy-free: Substitute full-fat coconut milk and coconut cream
– Reduced sugar: Use erythritol or monk fruit sweetener (adjust as they affect freezing point)
– Egg-free: Use cornstarch (2 tablespoons per cup of liquid) as a thickener
Technique Advice:
– Pre-freeze your ice cream maker bowl at least 24 hours
– Do not rush the chilling step—warm base creates icy crystals
– For extra creaminess, add 1–2 tablespoons of vodka or vegetable glycerin (it lowers freezing point without affecting flavor)
Common Mistakes to Avoid
– Mistake: Boiling the custard. This curdles the eggs and ruins texture.
Solution: Cook on low heat and remove immediately when it reaches 175°F.
– Mistake: Skipping the straining step. Residual cooked egg bits create grittiness.
Solution: Always use a fine-mesh strainer.
– Mistake: Over-churning. This can incorporate too much air and create a foamy, icy result.
Solution: Stop when the mixture resembles soft-serve.
– Mistake: Using low-fat dairy. Less fat means more ice crystals.
Solution: Stick with whole milk and heavy cream.
– Mistake: Freezing without covering the surface. Ice crystals form on top.
Solution: Press plastic wrap directly onto the surface before sealing the lid.
Storage & Meal Prep Tips
Store your ice cream in an airtight container with a layer of plastic wrap pressed onto the surface to prevent freezer burn. It stays fresh for up to two weeks, though the flavor will peak in the first few days. For best texture, let it sit at room temperature for 5–10 minutes before scooping. If the ice cream becomes too hard, microwave it for 10–15 seconds or let it soften on the counter. You can also make the base up to three days in advance and churn it fresh on the day of serving. Avoid refreezing melted ice cream, as this leads to graininess. For meal prep, portion into individual servings using silicone molds, then store them in a ziplock bag for easy, portion-controlled snacking.
Conclusion
Mastering Homemade Ice Cream (Vanilla) is more than a recipe—it’s a gateway to culinary confidence and endless creativity. From the silky custard base to the joy of customizing flavors, this classic technique transforms simple ingredients into a decadent treat that rivals any store-bought version. By controlling every step, you ensure purity, freshness, and a depth of flavor that can’t be replicated. Whether you stick to this timeless vanilla or start experimenting with other Ice Cream Recipes, the principles you’ve learned here will serve you well. Freeze a batch this weekend, invite friends over, and share the pride of a dessert made entirely by your own hands. Your taste buds—and your dinner guests—will thank you for it.
FAQs
1. Can I make this recipe without an ice cream maker?
Yes. Pour the chilled base into a shallow container and freeze, stirring vigorously every 30 minutes for 3–4 hours to break up ice crystals. The texture will be slightly icier but still delicious. Alternatively, use a food processor after freezing solid to “churn” manually.
2. Why did my ice cream turn out icy instead of creamy?
Icing usually results from insufficient fat, too much water content (e.g., using low-fat milk), or not chilling the base thoroughly before churning. Ensure you use full-fat dairy and refrigerate the base for at least 4 hours.
3. How can I make a dairy-free version?
Substitute full-fat coconut milk for the whole milk and coconut cream for heavy cream. Add ½ teaspoon of xanthan gum or cornstarch to improve texture, as coconut milk lacks the natural emulsifiers of dairy.
4. Can I use an alternative sweetener?
Yes, but adjust carefully. Honey, maple syrup, or agave will add their own flavor and increase liquid content (use slightly less). For low-carb options, erythritol or allulose works well, but you may need to add 1–2 tablespoons of vodka or glycerin to maintain a soft texture.
5. How long does homemade ice cream last in the freezer?
It’s best within the first week. After two weeks, texture declines and ice crystals form. Always press plastic wrap directly onto the surface before sealing to minimize exposure to air.
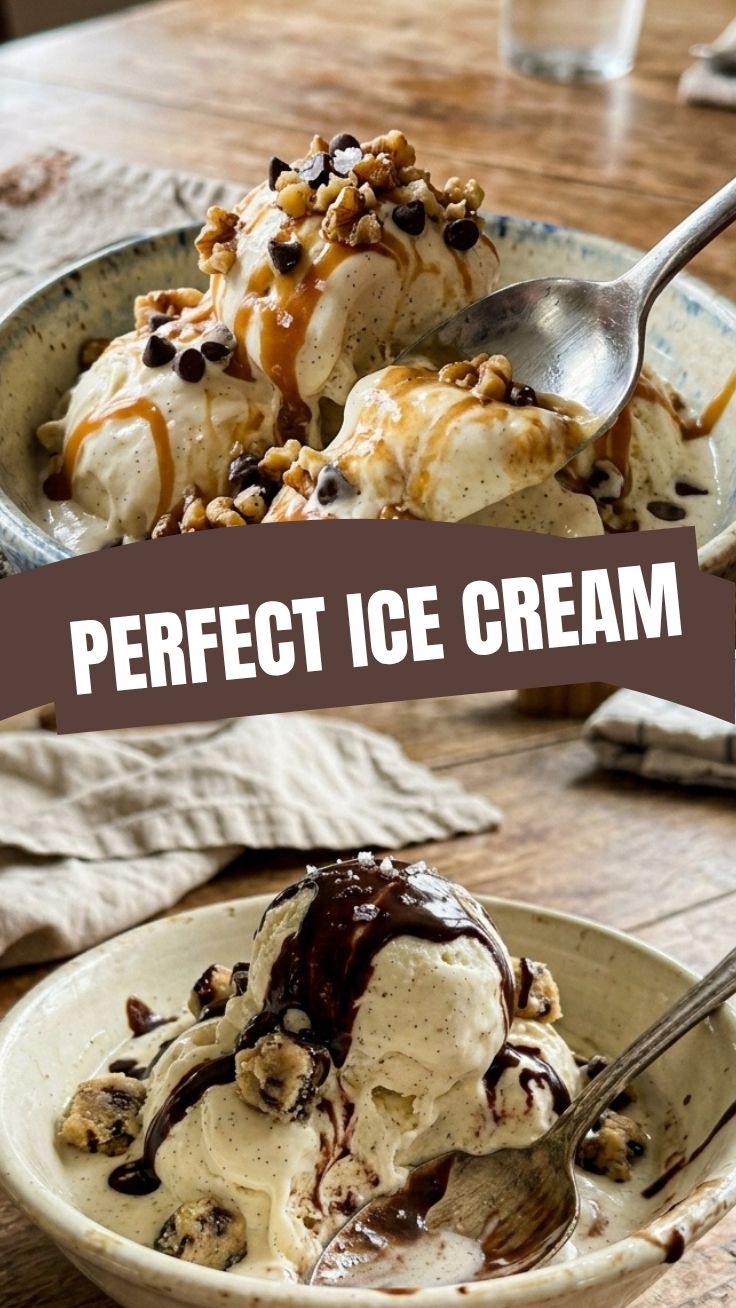
Proven way to grow 7 Homemade Ice Cream (Vanilla)
Ingredients
Equipment
Method
- Combine heavy cream, whole milk, granulated sugar, vanilla extract, and a pinch of salt in a large bowl. Whisk until the sugar is fully dissolved and the mixture is well combined.
- Cover the bowl and refrigerate the mixture for at least 2 hours, or preferably overnight, to ensure it is thoroughly chilled.
- Pour the chilled mixture into the ice cream maker freezer bowl. Churn according to the manufacturer's instructions, which typically takes 20-25 minutes, until the ice cream reaches a soft-serve consistency.
- Transfer the soft ice cream to an airtight container. Freeze for at least 2-3 hours, or until it reaches your desired firmness, before serving.