Why This Pumpkin Pie Will Change Your Thanksgiving Dessert Game Forever
Have you ever wondered why some pumpkin pies turn out silky smooth while others crack or taste bland? The secret isn’t just in the recipe—it’s in understanding how ingredients interact. Today, I’m sharing a foolproof method that transforms a classic Pumpkin Pie into the star of your table. Preparing it at home means you control the sweetness, spices, and texture, plus you avoid preservatives. Whether you’re hosting or just craving comfort, this Thanksgiving Dessert delivers nostalgia with every bite. Let’s unlock professional results with simple techniques.
—
Ingredients & Kitchen Tools
Essential Ingredients
– 1 ¾ cups pumpkin purée (not pumpkin pie filling) – gives real squash flavor
– ¾ cup granulated sugar – can swap for coconut sugar
– 1 teaspoon ground cinnamon – warm base spice
– ½ teaspoon ground ginger – adds gentle heat
– ½ teaspoon ground nutmeg – earthy aroma
– ¼ teaspoon ground cloves – optional but deepens flavor
– ½ teaspoon salt – balances sweetness
– 2 large eggs – binds and enriches
– 1 can (12 oz) evaporated milk – yields creamy texture (can substitute with full-fat coconut milk for dairy-free)
– 1 unbaked 9-inch pie crust – store-bought or homemade
Kitchen Tools
– Large mixing bowl
– Whisk
– Rubber spatula
– Measuring cups and spoons
– 9-inch pie dish (glass or ceramic preferred)
– Baking sheet (to catch drips)
– Oven thermometer (critical for even baking)
– Cooling rack
Optional Substitutions
– Replace evaporated milk with oat milk + 1 tablespoon cornstarch for vegan version
– Use gluten-free pie crust
– Reduce sugar to ½ cup and add 2 tablespoons maple syrup for natural sweetness
—
Prep Time & Cooking Schedule
– Prep Time: 15 minutes
– Bake Time: 50–55 minutes
– Resting Time: 2 hours (crucial for setting)
– Total Time: ~3 hours 10 minutes
Why plan ahead? The pie needs to cool completely so the custard firms up. If you rush, you’ll end up with a runny slice. Bake it the night before your Thanksgiving Dessert party, then chill overnight for perfect slices.
—
Step-by-Step Instructions
1. Preheat oven to 425°F (218°C) – high initial temperature sets the crust.
2. Whisk dry ingredients – In a large bowl, combine sugar, cinnamon, ginger, nutmeg, cloves, and salt.
3. Add wet ingredients – Whisk in pumpkin purée until smooth, then add eggs one at a time, mixing after each. Slowly pour in evaporated milk while whisking. The mixture should be glossy.
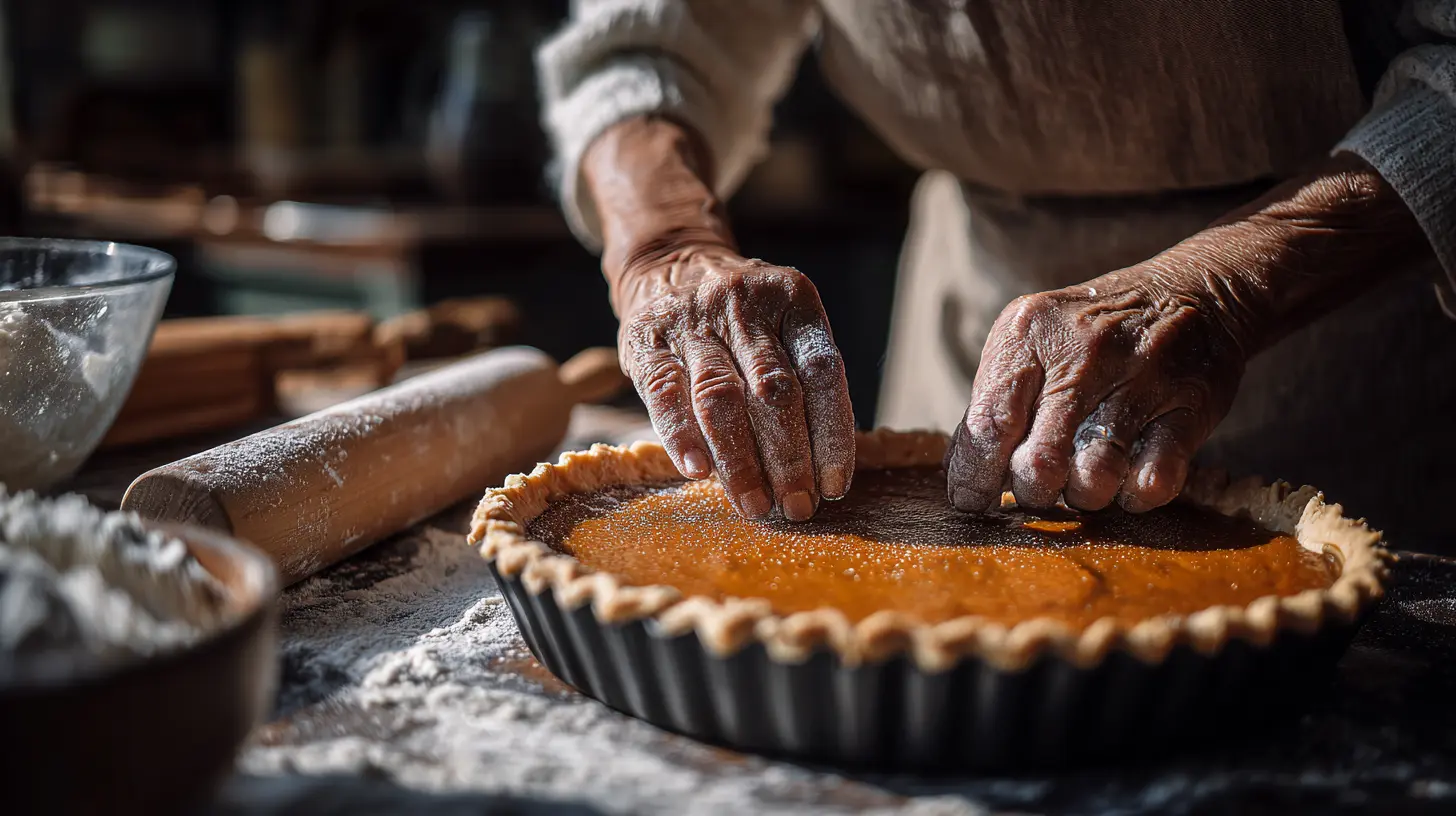
4. Prepare crust – If using store-bought, prick the bottom with a fork to prevent bubbles. Place crust in pie dish and crimp edges.
5. Pour filling & bake – Pour custard into crust. Place pie on baking sheet and bake at 425°F for 15 minutes. Reduce heat to 350°F (175°C) and bake 40–45 more minutes until the center jiggles slightly (like set Jell-O).
6. Cool completely – Transfer to wire rack. After 2 hours at room temperature, refrigerate for at least 1 hour.
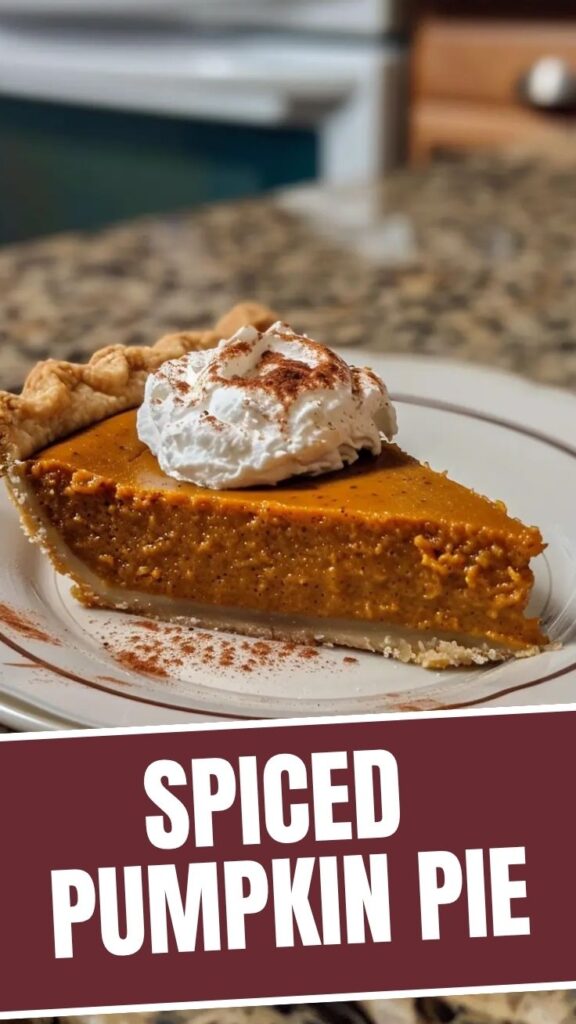
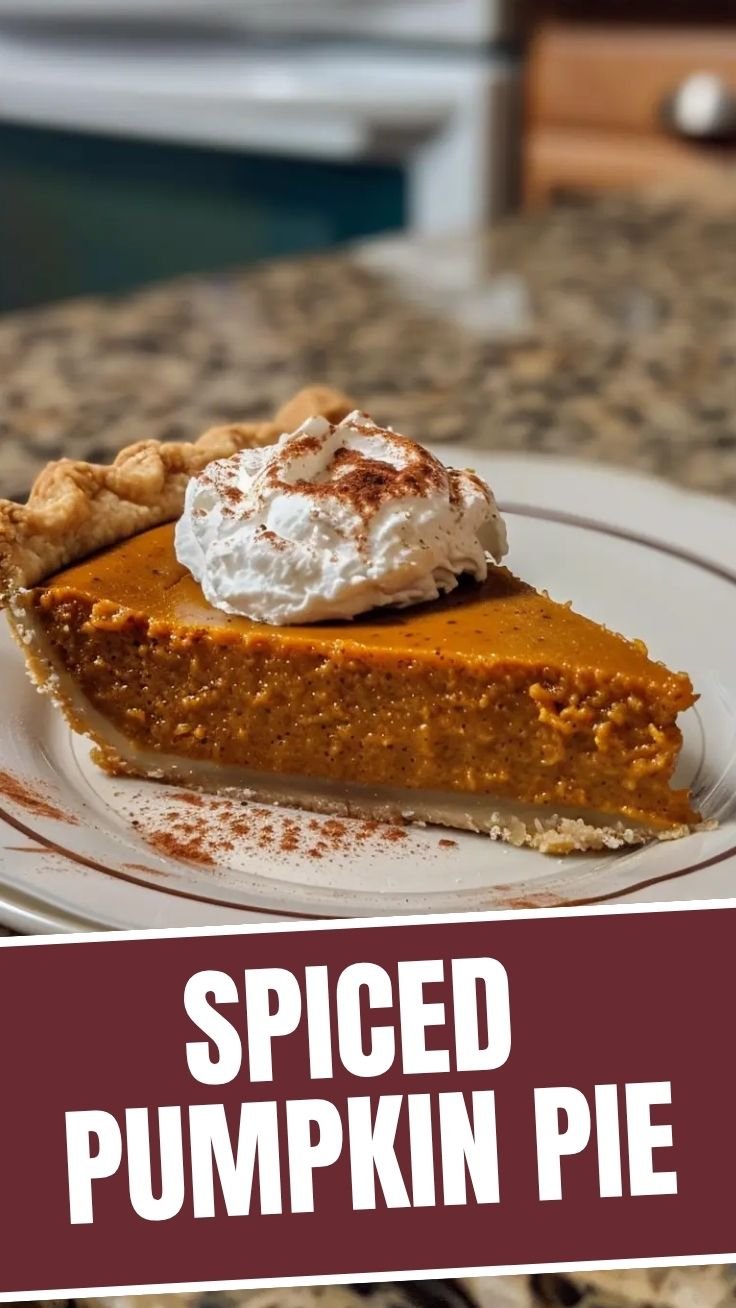
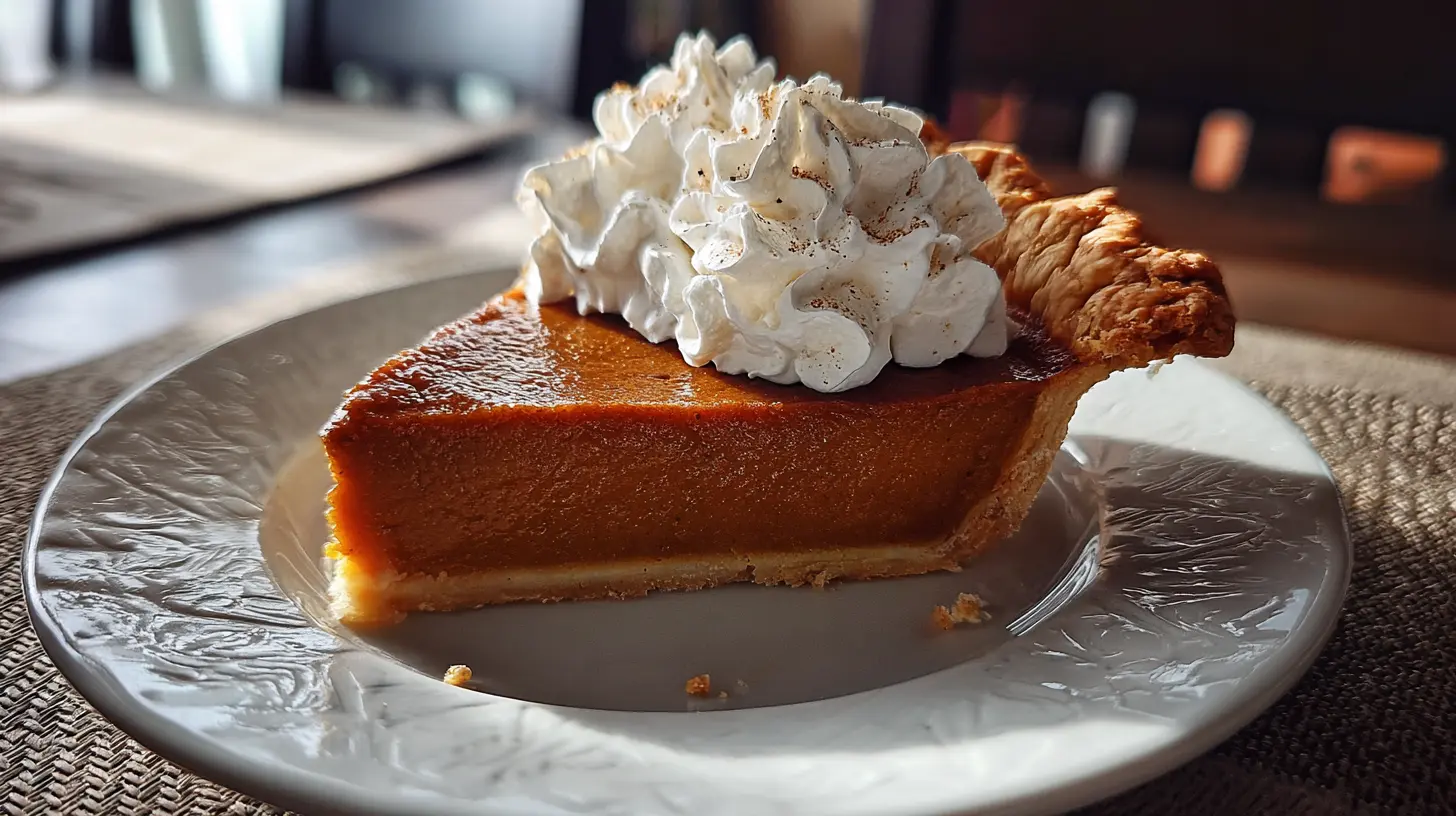
Pro tip: To avoid cracks, don’t overbake. The custard continues cooking after removal. You’ll know it’s done when a knife inserted 1 inch from edge comes out clean. For the perfect Pumpkin Pie, check the filling’s wobble—too liquid means more time, too firm means overdone. This Thanksgiving Dessert rewards patience.
—
Nutritional Benefits & Advantages
Pumpkin is a nutritional powerhouse: one cup of cooked pumpkin packs 200% of your daily vitamin A (for eye health), plus fiber, potassium, and vitamin C. Using evaporated milk instead of heavy cream reduces saturated fat while keeping creaminess. This version has about 280 calories per slice (1/8 of pie). The spices—cinnamon, ginger, nutmeg—offer anti-inflammatory properties. Compared to store-bought pies, homemade cuts added sugar by up to 40% and eliminates trans fats.
—
Tips Variations & Cooking Advice
– Flavor twist: Add 1 teaspoon vanilla extract and 2 tablespoons bourbon for adult flair.
– Texture upgrade: Toast ½ cup pecans, chop, and sprinkle over filling before baking.
– Dietary adaptation: For gluten-free, use almond flour crust; for vegan, use silken tofu + cornstarch as egg replacer and coconut cream instead of milk.
– Portion control: Bake in mini tart shells (10–12 min at 375°F) for individual servings.
– Method swap: Try no-bake version by using gelatin (1 tablespoon dissolved in 3 tablespoons water) and chilling 4 hours.
—
Common Mistakes to Avoid
1. Overmixing – Whisk too vigorously and you incorporate air, causing cracks. Mix until just combined.
2. Using pumpkin pie filling instead of purée – Filling has sugar and spices already, so your flavor balance will be off.
3. Soggy crust – Brush crust with egg white before filling, or blind bake 10 minutes at 400°F.
4. Underbaking – The center should still quiver slightly; if it looks liquid, bake 5 more minutes.
5. Refrigerating too early – Warm pie in fridge creates condensation, making crust soggy. Always cool fully first.
—
Storage & Meal Prep Tips
– Refrigeration: Cover cooled pie with plastic wrap or foil. Keeps 4–5 days.
– Freezing: Wrap tightly in plastic, then foil. Freeze up to 3 months. Thaw overnight in fridge.
– Reheating: Individual slices: microwave 20 seconds on low power. Whole pie: reheat in 300°F oven 10–15 minutes, uncovered.
– Make ahead: Prepare filling 2 days early, store sealed in fridge. Assemble and bake day of serving.
—
Conclusion
Mastering this Pumpkin Pie boils down to quality ingredients, accurate oven temperature, and patience during cooling. Whether you serve it with whipped cream or a drizzle of caramel, it will earn a permanent spot on your Thanksgiving Dessert menu. Try it this weekend—snap a photo and tag me in your results. For more autumn favorites, check our classic apple crisp and pecan tart recipes. Happy baking!
—
FAQs
1. Can I use fresh pumpkin instead of canned?
Yes. Roast a 3-pound sugar pumpkin at 400°F for 45 minutes, scoop flesh, then purée. Strain excess liquid through cheesecloth to avoid watery pie.
2. Why did my pie crack on top?
Cracks happen from overbaking (too high temp or too long) or rapid cooling. Cool slowly on a wire rack away from drafts. Covering with foil can trap steam.
3. Can I substitute evaporated milk with regular milk?
You can, but the pie will be less rich and may not set as firmly. Use 1 cup whole milk plus 2 tablespoons melted butter as a workaround.
4. How do I know when the pie is done without a thermometer?
Jiggle test: Gently shake the pie; the center should wobble like set gelatin, not slosh. A knife inserted 1 inch from edge should come out clean.
5. Can I make this dairy-free and egg-free simultaneously?
Yes. Replace evaporated milk with coconut milk, use 1/2 cup silken tofu + 2 tablespoons cornstarch for eggs, and choose a vegan pie crust. Bake at 375°F 5 minutes longer.